
Documentation
Guides for projects, the node canvas, writing in nodes, export, billing, account settings, and help.
On this pageShowHide
- Overview
- Signing in and the home screen
- Feature list
- Projects
- Creating a project
- Project menus and archive
- Explorer sidebar
- Writing Studio
- Project selection and sidebars
- Manuscript mode
- Progress mode
- Notes in Writing Studio
- Canvas basics
- Nodes and the node editor
- Creating and placing nodes
- Opening the editor
- Title and node type
- Note tab
- Content tab
- Nested tab and child canvases
- Important export rule for parents with children
- Node context menu
- Connecting nodes
- Example: planning and writing a first structured book
- 1. Shape the book on the root canvas
- 2. Open each act as a nested canvas
- 3. Drill into a chapter
- 4. Use notes vs content
- 5. Export when ready
- Export
- Billing and plans
- Account settings
- Help, contact, tour, and guides
- Profile menu and global navigation
- Product tours
- Keyboard and interaction summary
Overview
Plotlyn is a node-based writing environment. You organize work as boxes on a canvas, connect them to express order and structure, and drill into nested canvases when a section needs its own map of scenes or beats. Each node holds a title, optional private notes, and rich-text content for the prose you want in exports.
This page is the in-app guide. Use On this page (or the sidebar on large screens) to jump between sections.
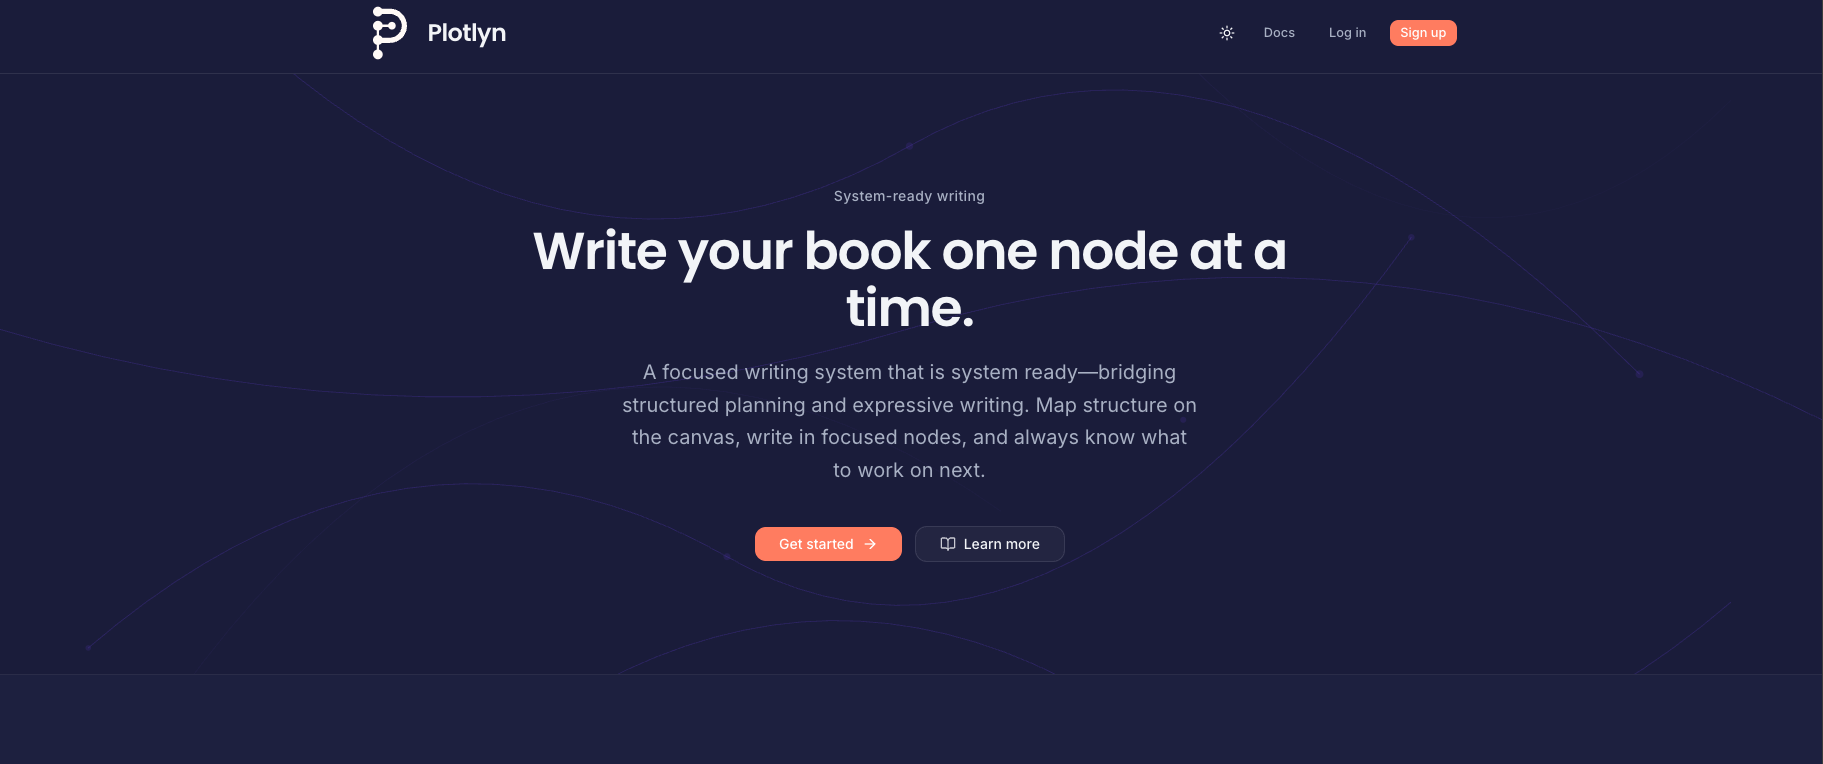
Signing in and the home screen
The home experience introduces the product; sign up collects the basics for a new account. After you sign in, you land on Your Projects (see Projects).
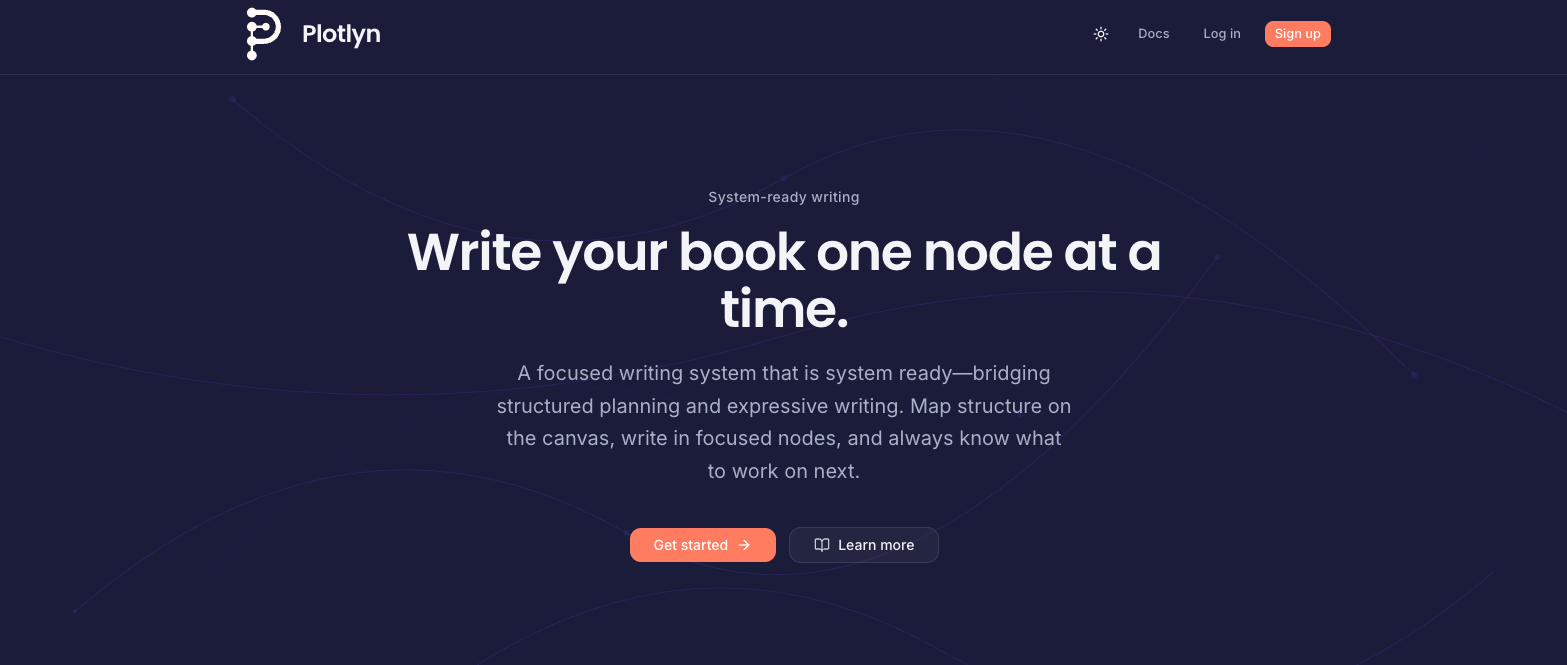
Public home and entry points before you open the editor.
Deployments may use a slightly different home shell; sign-in still leads to Your Projects once you are authenticated.
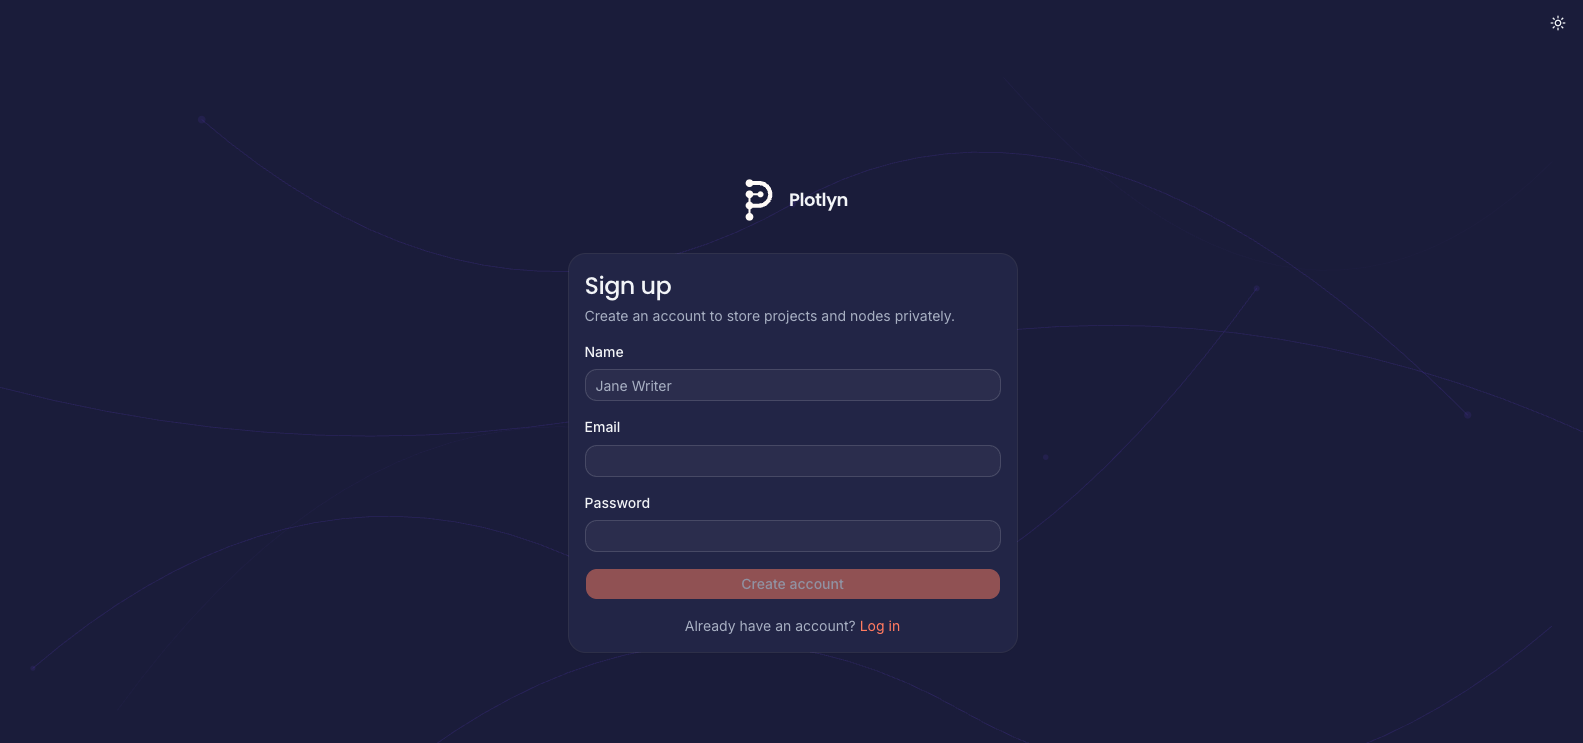
Sign-up collects credentials used with Supabase auth (exact fields depend on your deployment).
Feature list
- Projects — Separate workspaces, each with its own canvas, nodes, and types.
- Project canvas — Pan, zoom, minimap, and React Flow controls for arranging nodes.
- Writing nodes — Titled cards with configurable node types (color and icon) per project.
- Node editor — Slide-out panel: title, type picker, Note tab, Content tab (rich text), Nested tab.
- Connections — Directed edges between nodes (reading / narrative order). At most one outgoing and one incoming edge per node; cycles are blocked so the graph stays a valid flow.
- Edge shaping — Select a link and drag the small dots to bend; double-click a dot to reset.
- Insertable edges — Context menu on the
+control on a connection for insert/delete along the chain. - Nested nodes — Any node can own a child canvas; children live under that node in the tree and open at
/node/[id]. - Explorer — Sidebar listing projects and the tree of the open project for quick navigation.
- Writing Studio — Focused long-form drafting + progress management with left/right sidebars, status/targets, and node notes.
- Export — Build a linear manuscript from your graph: Word (.docx) download and PDF via print preview; layout options (fonts, page breaks, etc.).
- Export limits — Monthly export quota per plan (UTC calendar month).
- Billing & plans — Compare caps, subscribe via Stripe where applicable, choose free plans when offered.
- Account settings — Display name, email change flow, password update, password reset email.
- Contact — Reach the team from
/contactwithout signing in (deployment setsNEXT_PUBLIC_CONTACT_EMAILfor the mail link). - Product tours — From Launch tour in Help: the steps depend on the page (projects list, canvas, export, contact, docs, or settings/plan).
- Documentation — This page, linked from Help in the account menu.
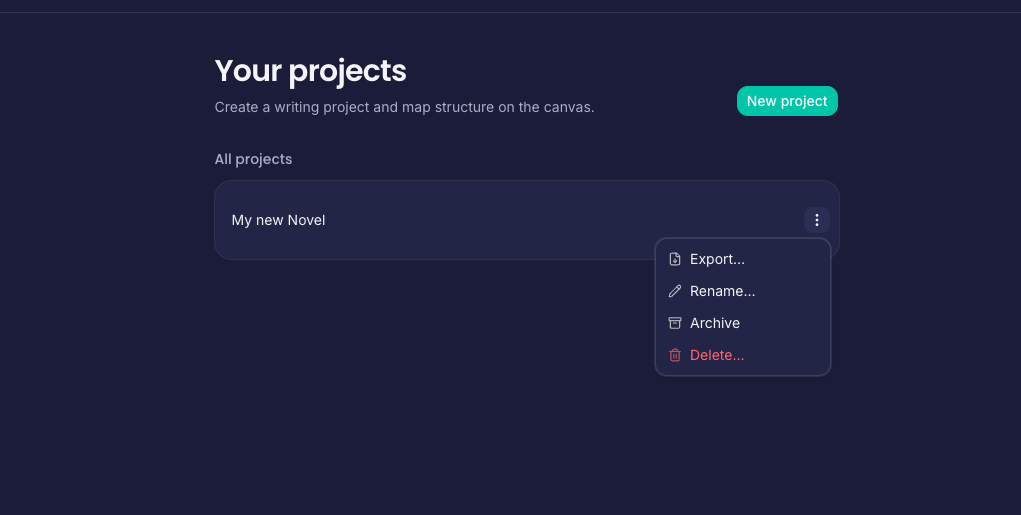
Projects
From Projects (/projects), create a project with New project. Opening a project loads its root canvas at /project/[id].
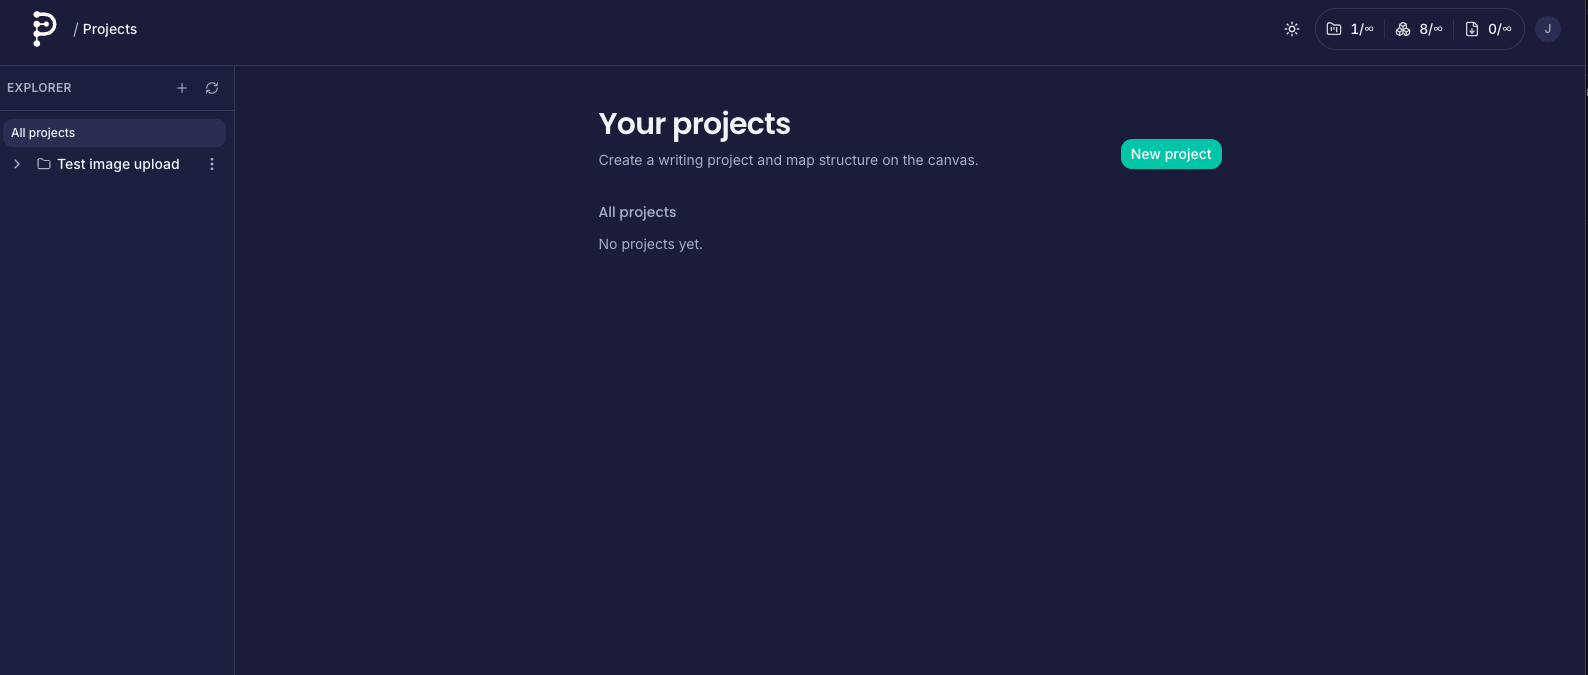
Your Projects lists every workspace. Pick one to open its canvas, or start with New project.
Each project has:
- Its own node type catalog (labels, icons, colors) for organizing tone or structure (for example “Chapter”, “Scene”, “Beat”).
- A root-level graph of nodes (
parent_idis null) and optional nested graphs under specific nodes.
Creating a project
Use New project from the project list. The form asks for a title (and any other fields your product exposes); confirm to create the workspace and jump into its root canvas when ready.
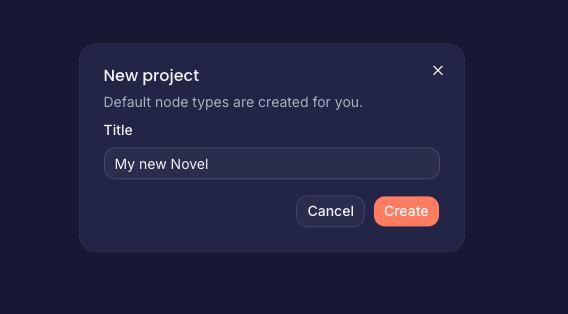
Modal flow for creating a project from Your Projects.
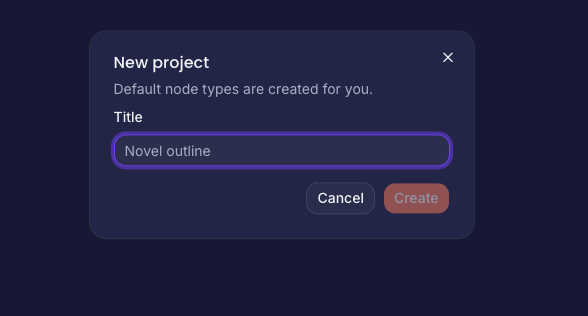
Some layouts use a larger form; fields match your deployment.
Project menus and archive
Use the overflow menu on a project card to archive (or restore) projects you do not want in the main list anymore. The same pattern appears from the project header when you are inside a canvas.
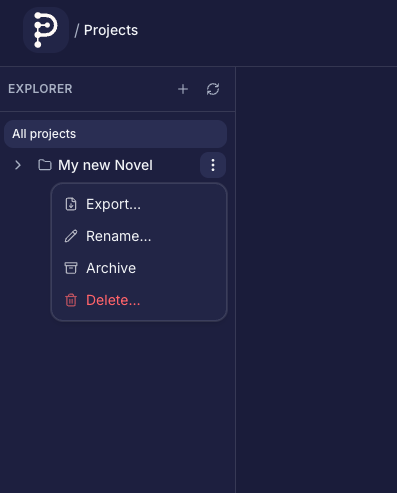
Three dots on a card open rename, archive, and related actions.
From inside a project, the header menu exposes project-level actions.
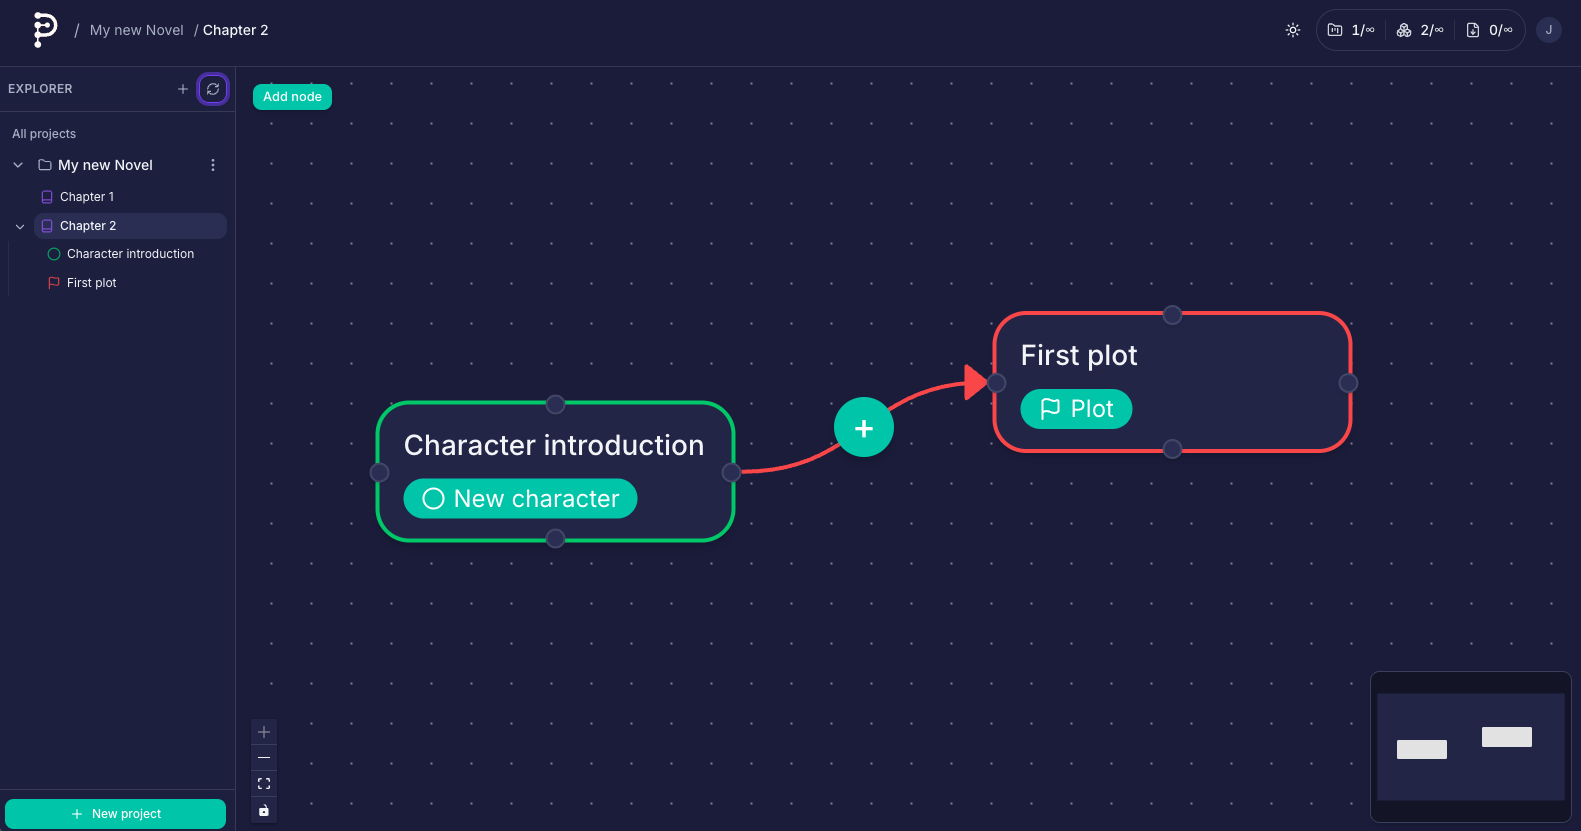
Explorer sidebar
The Explorer lists all your projects and, when a project is open, expands into the node tree for that project. Click a node to jump to its canvas:
- Root nodes open the main project canvas.
- Nested nodes open that node’s nested canvas route (
/node/[nodeId]).
The sidebar stays available while you work so you can move between chapters or subplots without losing context.
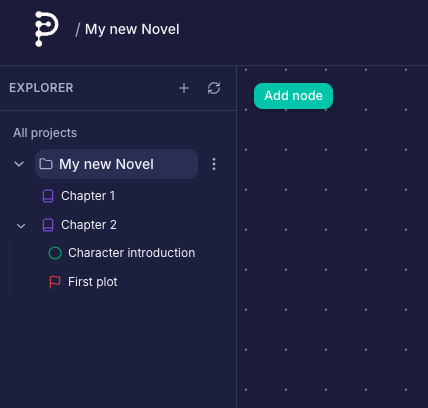
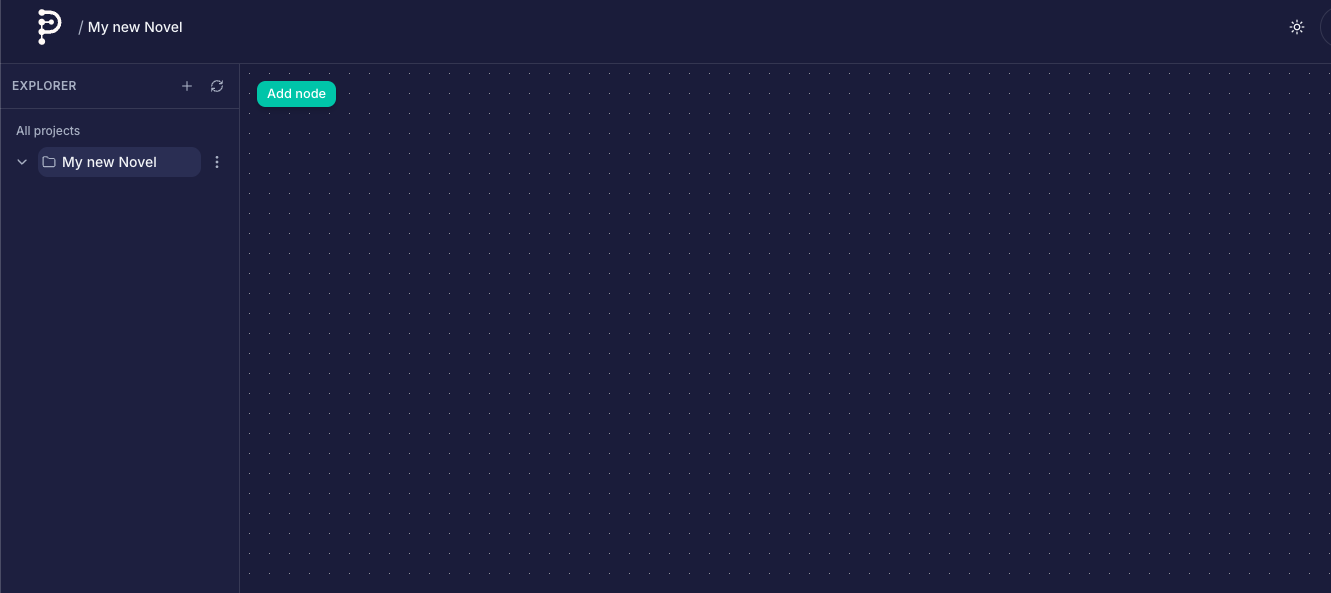
Collapsed Explorer shows your project library and branding.

With a project open, the tree lists root and nested nodes for quick jumps.
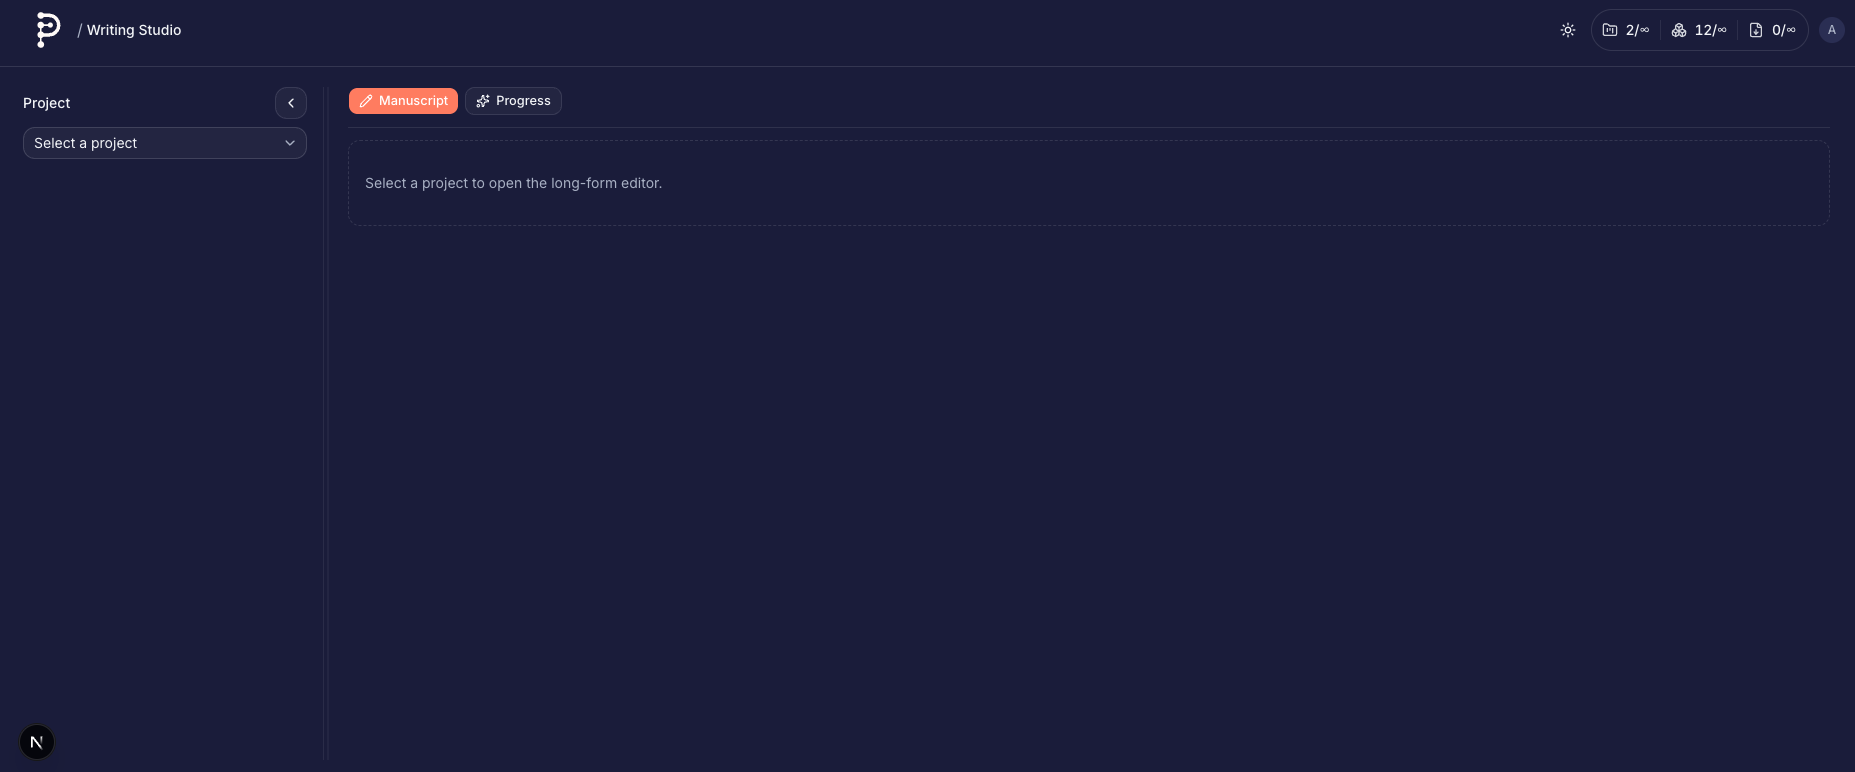
Writing Studio
Open Writing Studio from the app navigation menu. This workspace is optimized for drafting and tracking progress across sections while keeping context sidebars visible.
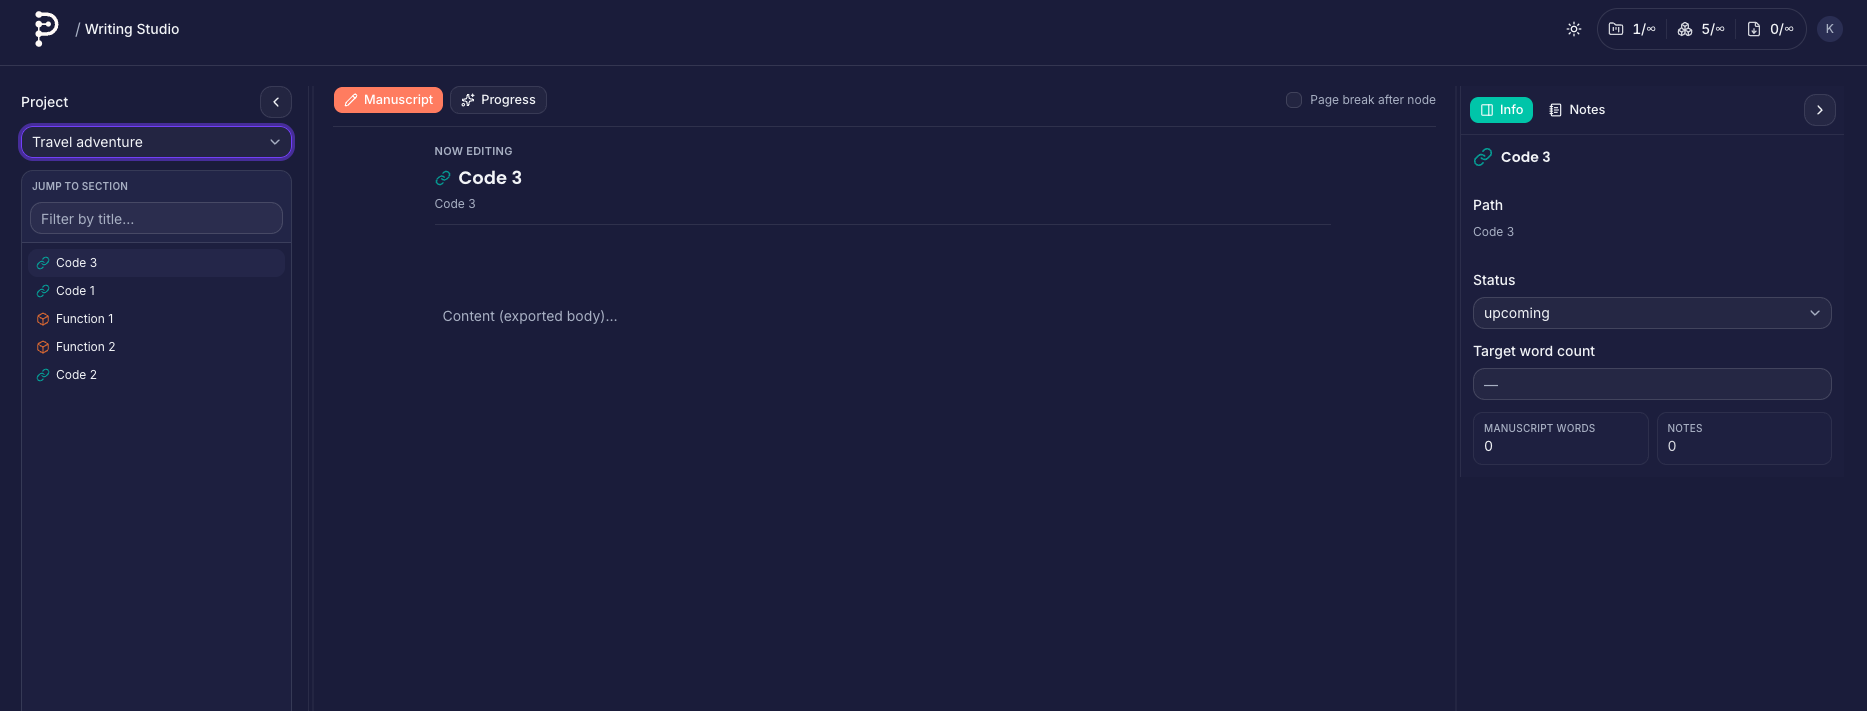
Project selection and sidebars
- Project dropdown chooses which tree/body data the studio loads.
- Left sidebar is your section navigator and filter.
- Right sidebar switches between Info and Notes for the selected context node.
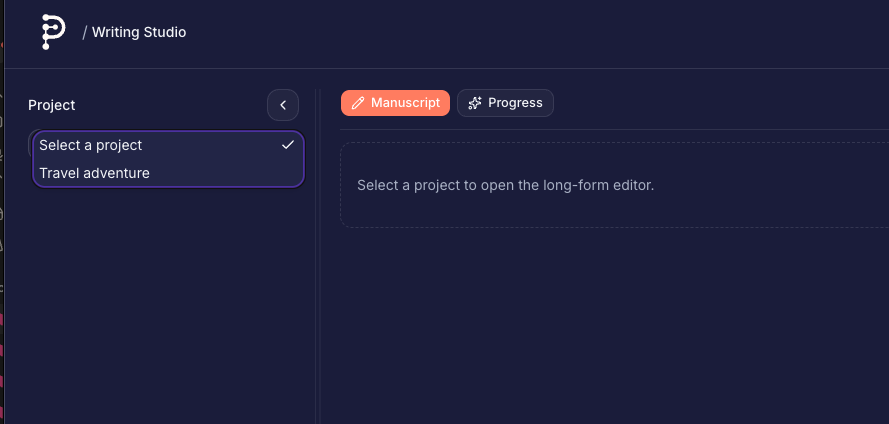
Use the project picker first; all studio panels sync to this selection.
After selecting a project, the node list and editor areas populate.
Collapse sidebars for more writing width when needed.
Keep both sidebars open when you are navigating and reviewing notes.
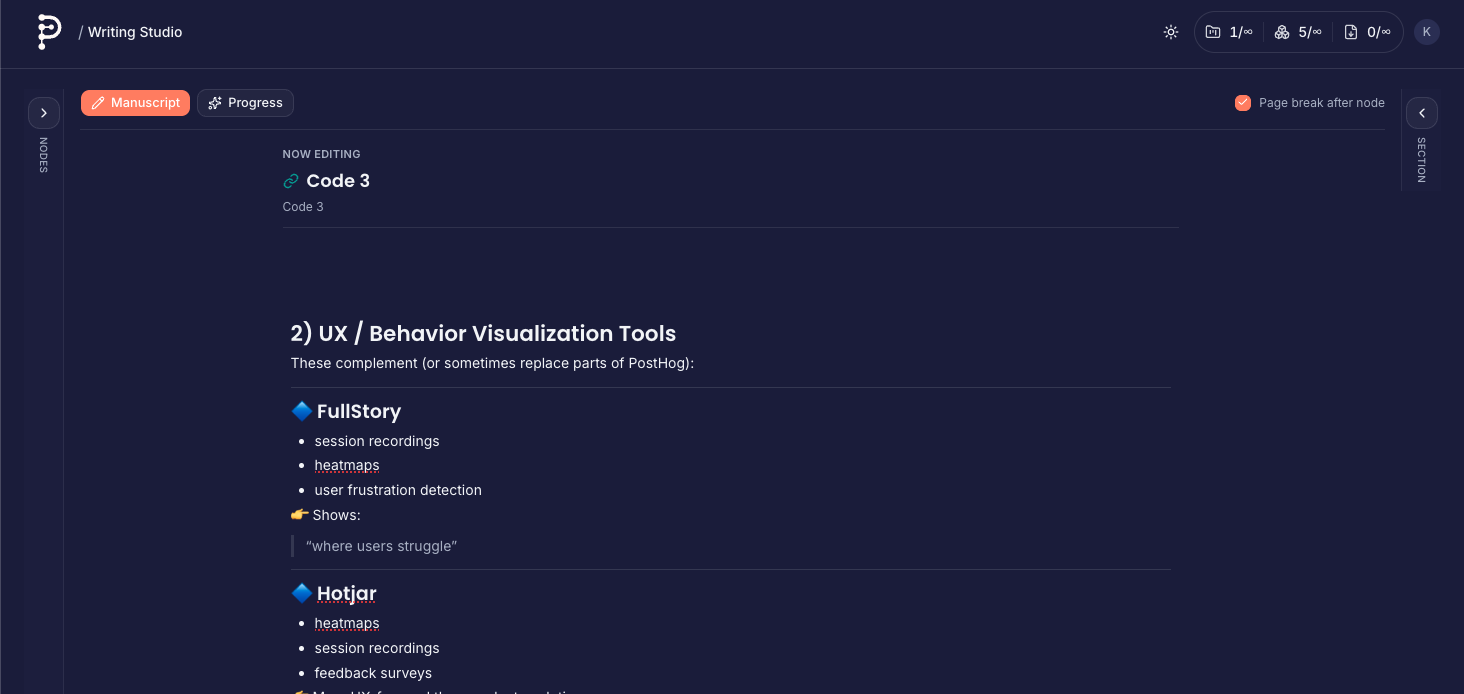
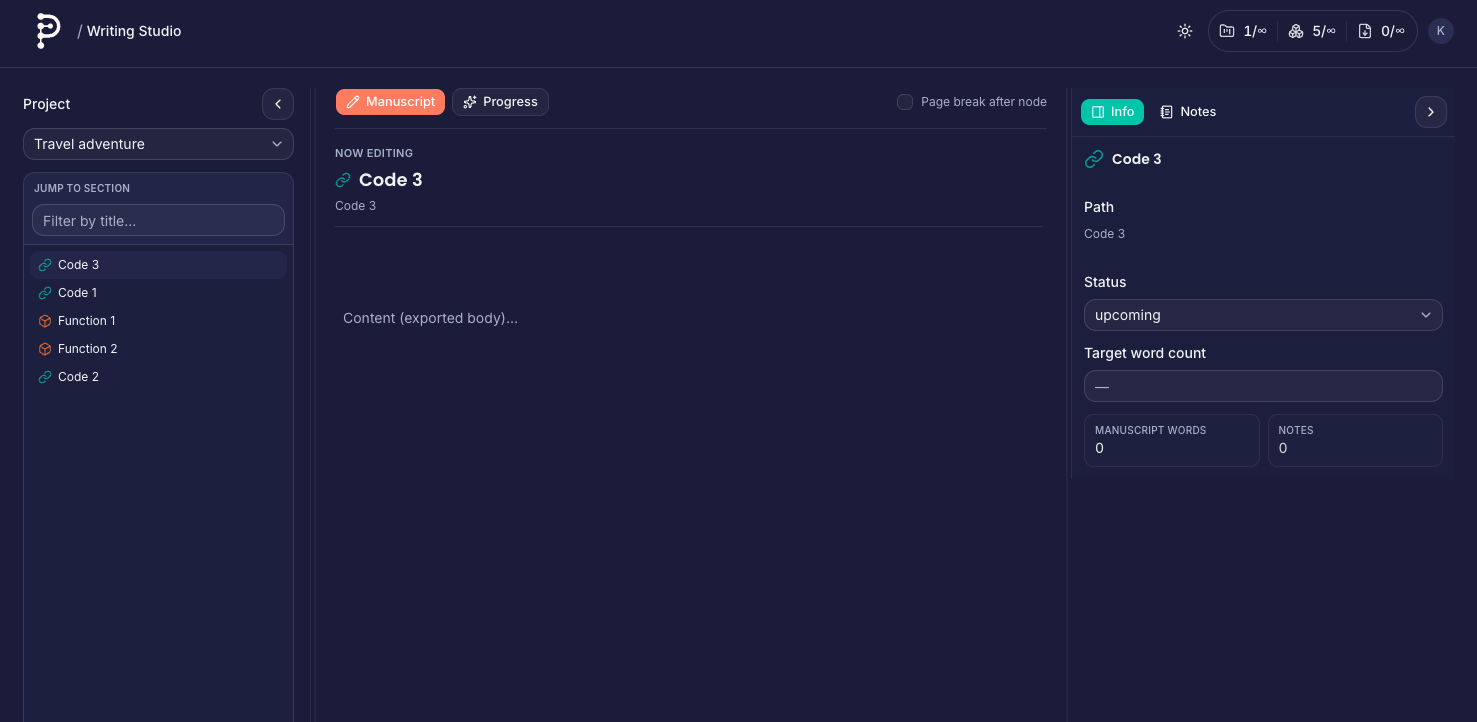
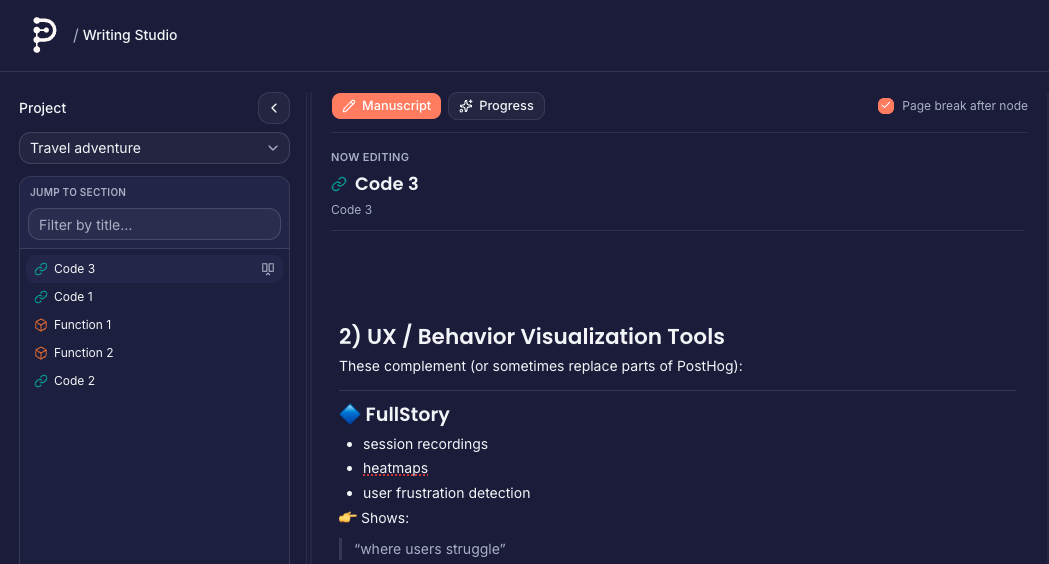
Manuscript mode
Manuscript mode focuses on rich prose editing for the selected node (or selected child when the current node is a parent container).
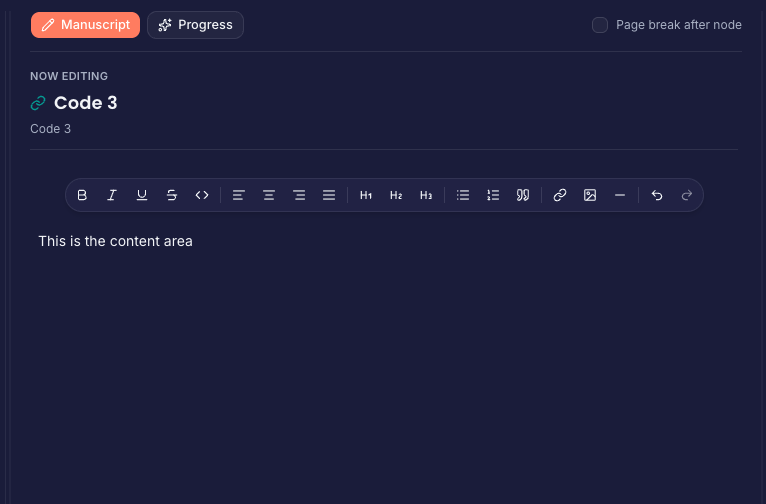
This is the long-form drafting area used for manuscript content.
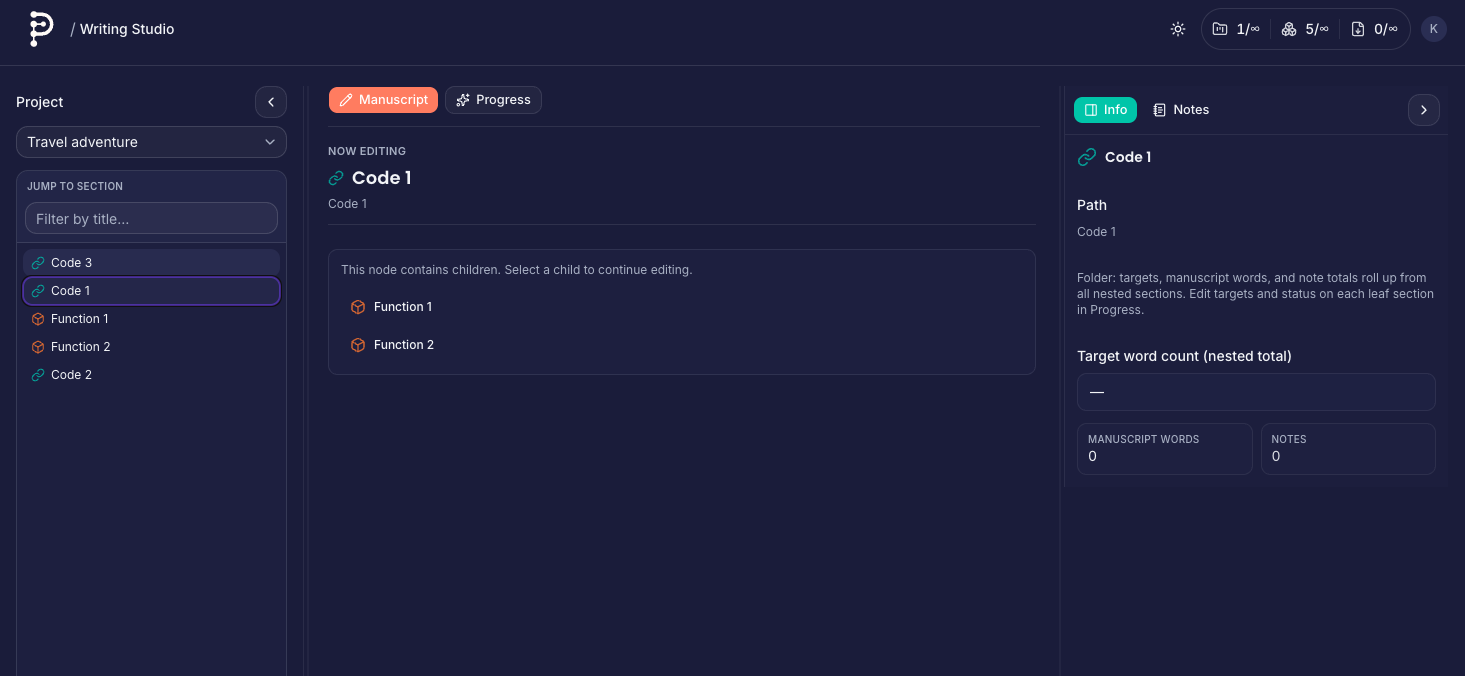
Parent/container nodes surface child navigation and rollup context.
Typical editing layout: navigator left, draft center, context right.
Progress mode
Progress mode summarizes each leaf section with status, target, manuscript words, and notes metric.
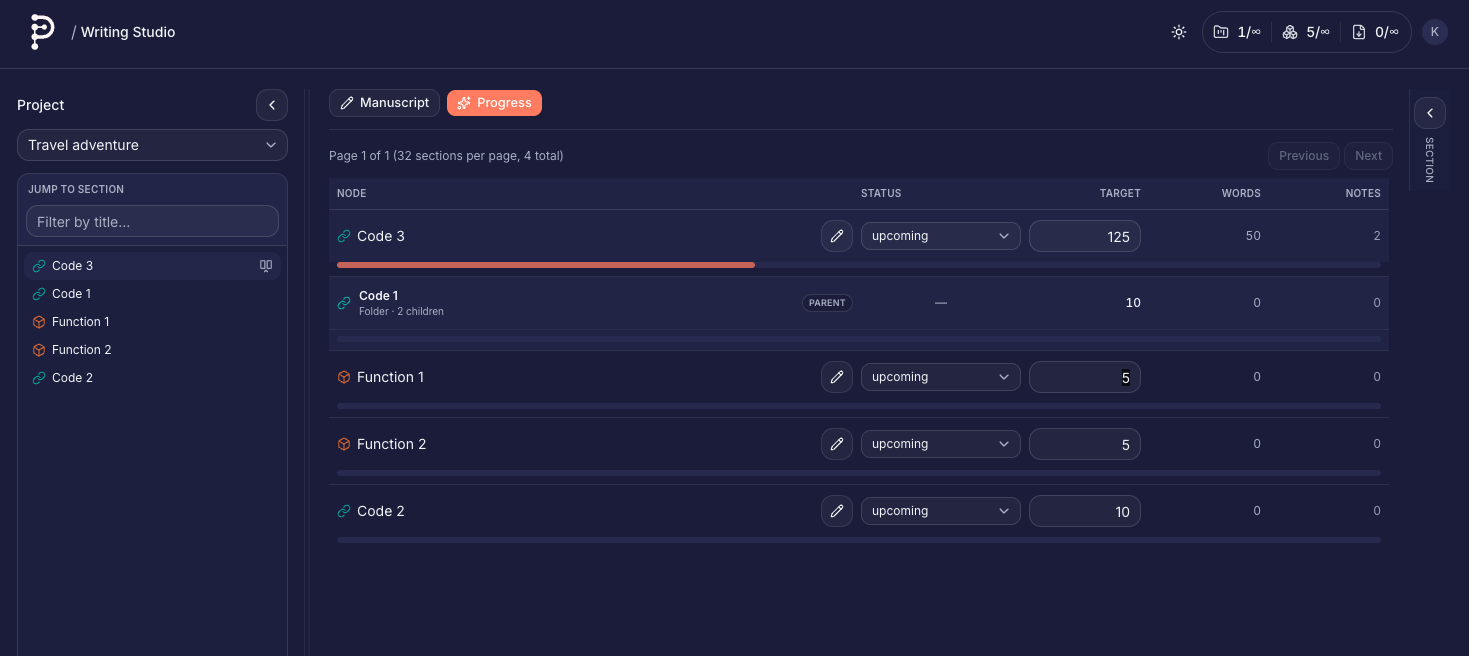
Use this view to triage what is upcoming, ongoing, done, or edited.
Toggle page-break-after from studio to influence export structure.
Notes in Writing Studio
The right Notes tab stores rich note posts per node. Notes support formatting, images, filtering, and expandable long previews.
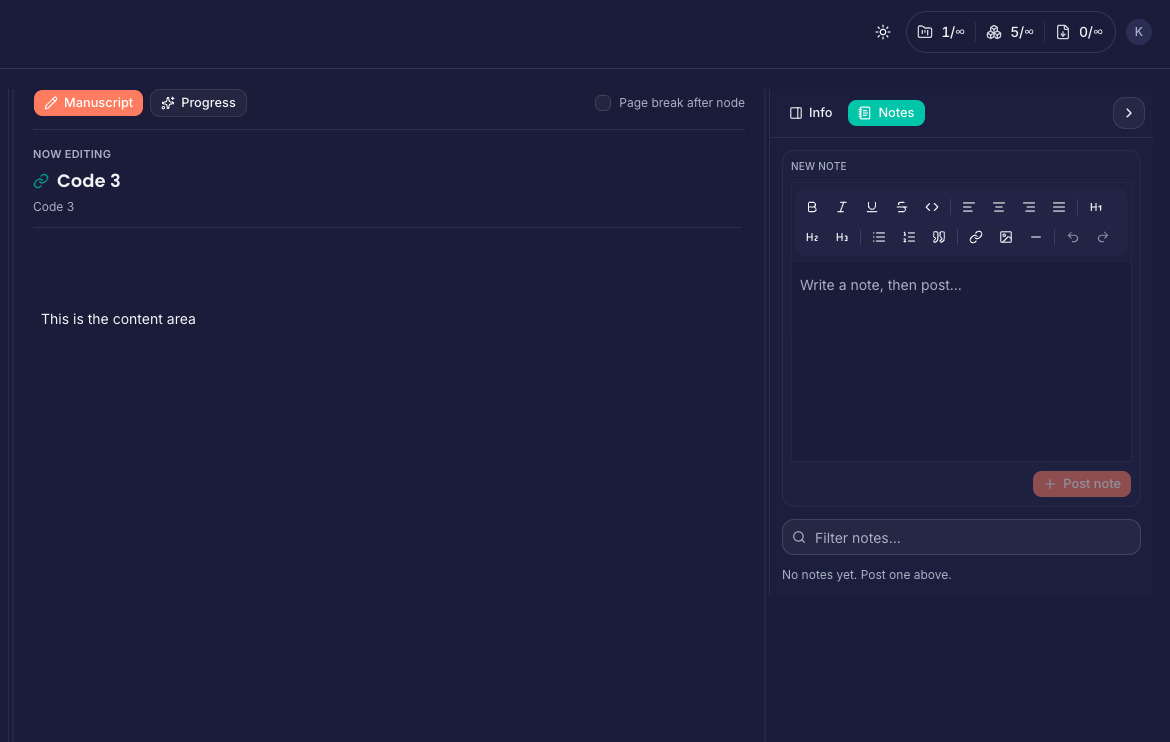
Notes are per-node posts and are separate from manuscript content.
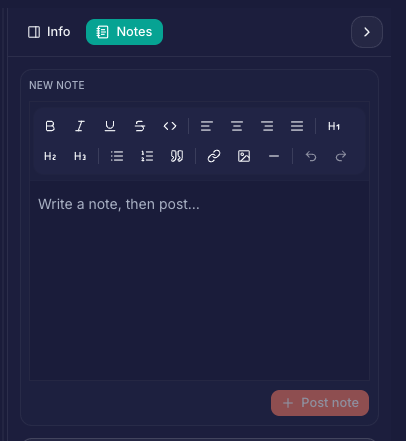
Compose and post a note at the top, then browse existing notes below.
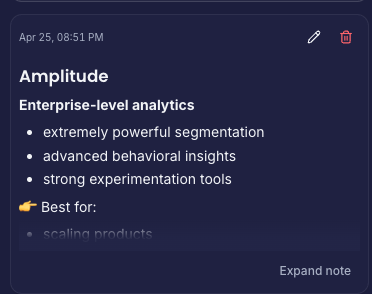
Long notes are collapsed with an explicit expand control.
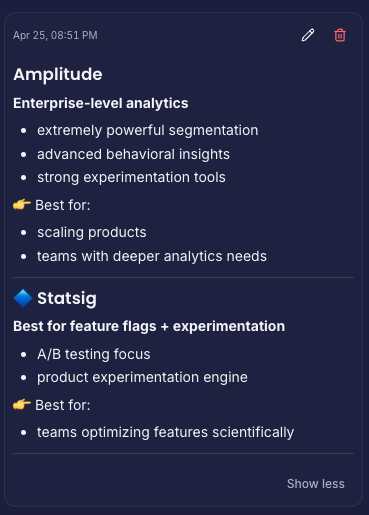
Expanded previews render rich formatting and images.
Canvas basics
On any canvas (root or nested):
- Pan and zoom with the mouse or trackpad; use the Controls and Minimap for orientation.
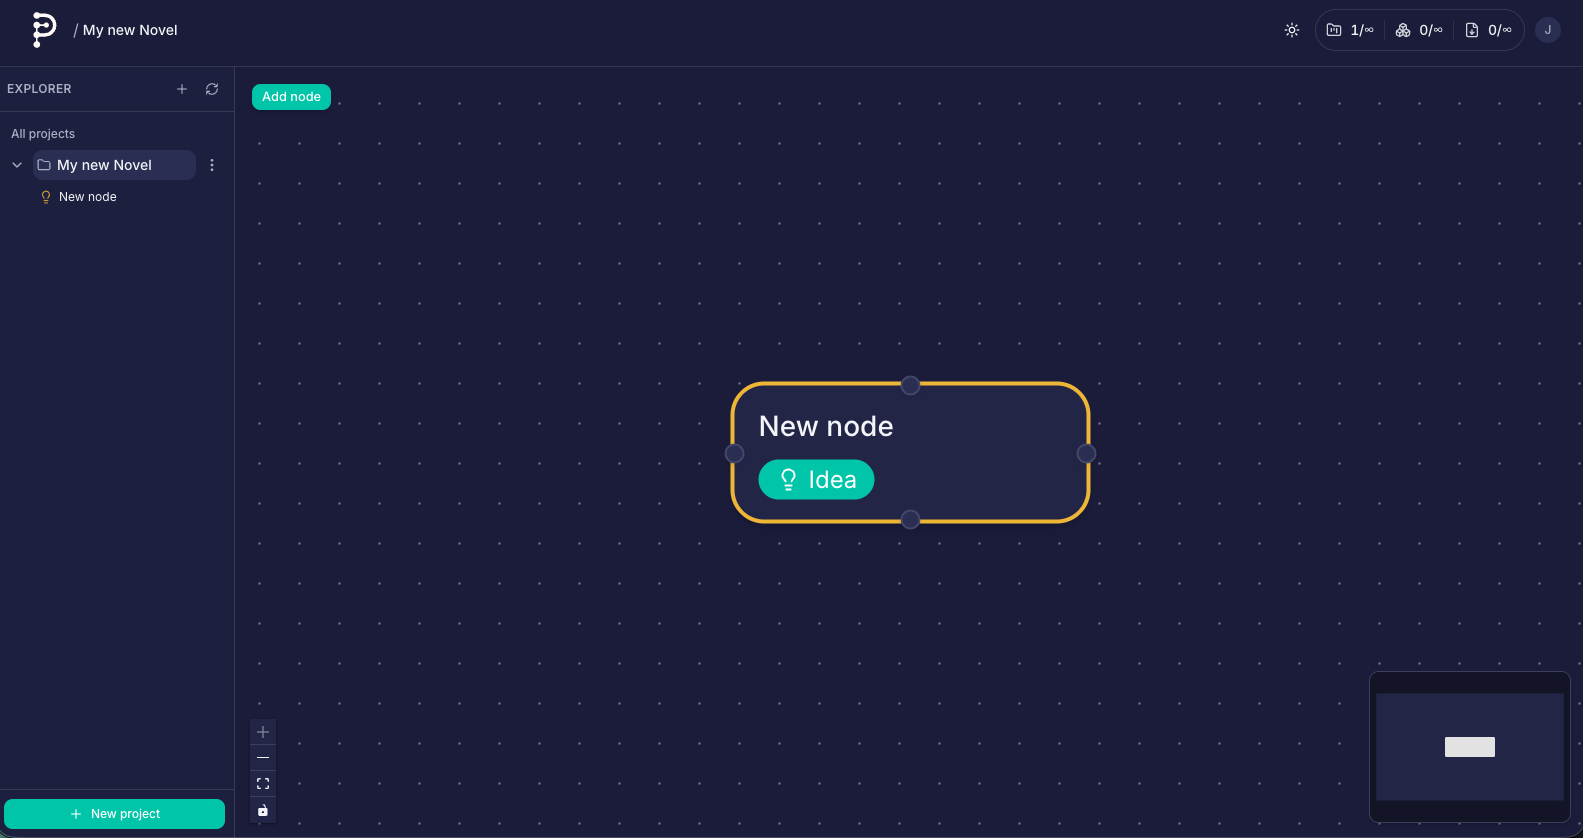
- Add node — Top-left Add node creates a new writing node near the center of the view (subject to your plan’s node limit).
- Select — Click a node or drag a selection box. Selected items show a small HUD for delete.
- Delete — Delete or Backspace removes the current selection (nodes and/or edges), or use a node’s right-click → Delete node.
On-screen help under Add node reminds you of connection rules and edge bending shortcuts.
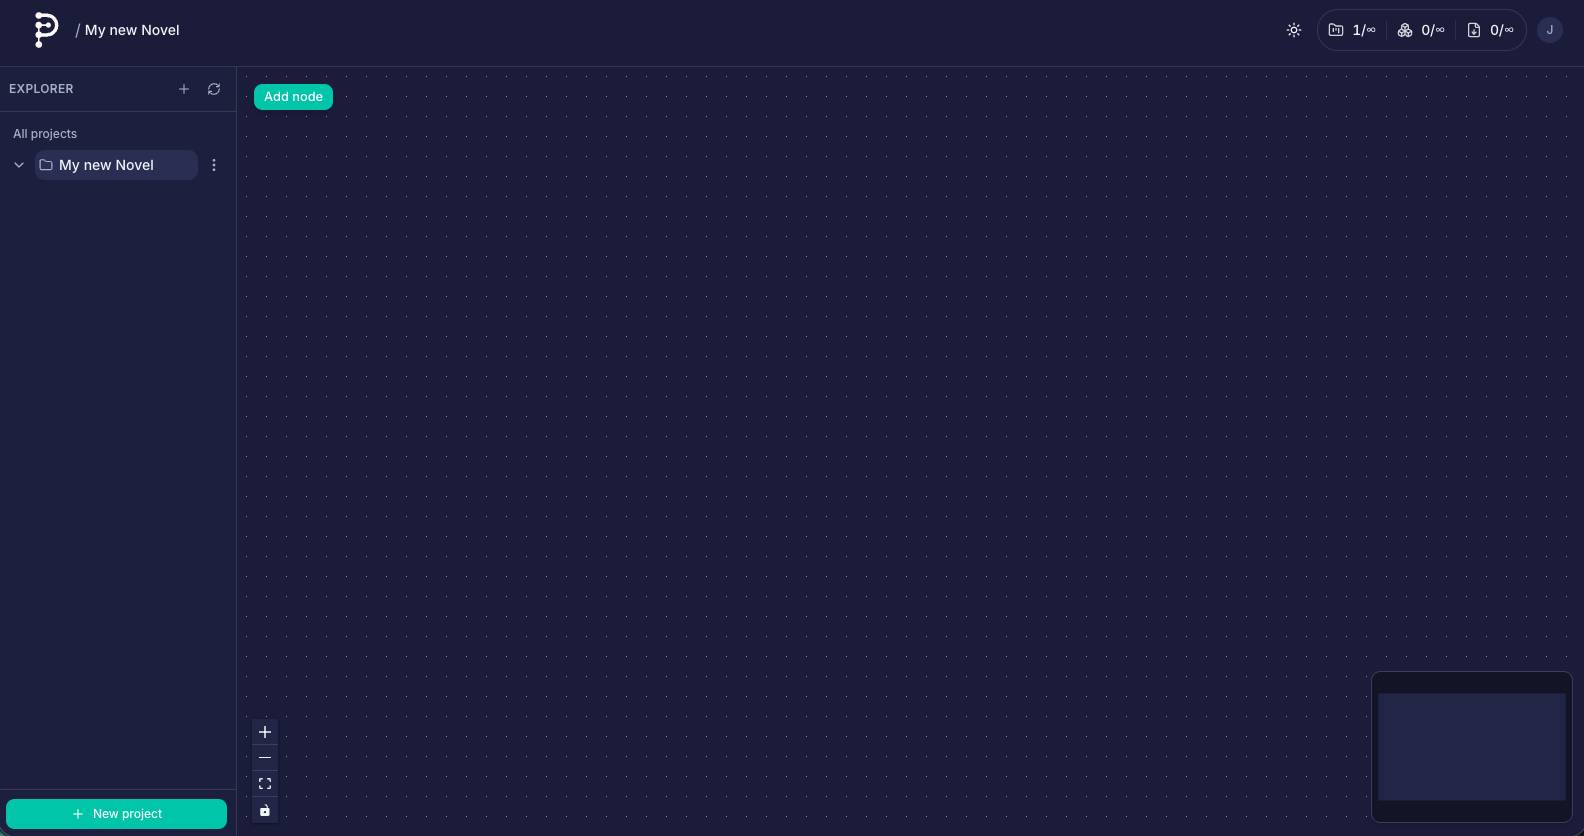
A new or cleared canvas: pan, zoom, and Add node are the starting points.
Add node drops a new writing card near the center of the viewport.
One node selected or in place; drag the card to reposition (positions save on release).
Nodes and the node editor
Creating and placing nodes
Use Add node. New nodes appear with a default title (you can rename immediately in the editor). Drag a node to reposition; positions are saved when you release the drag.
Opening the editor
- Double-click a node to open the editor drawer, or
- Right-click → Edit node, or
- Click the node’s title (same as double-click: opens Content when there are no children, or Nested when the node already has child nodes).
The drawer can be widened or narrowed from its left edge; the width is remembered for your browser session.
The slide-out editor sits over the canvas; resize from the left edge of the drawer.
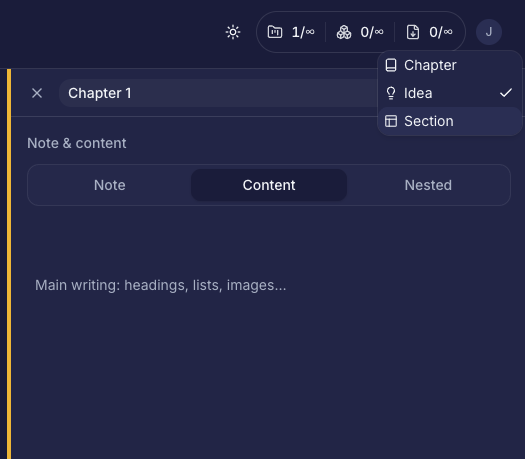
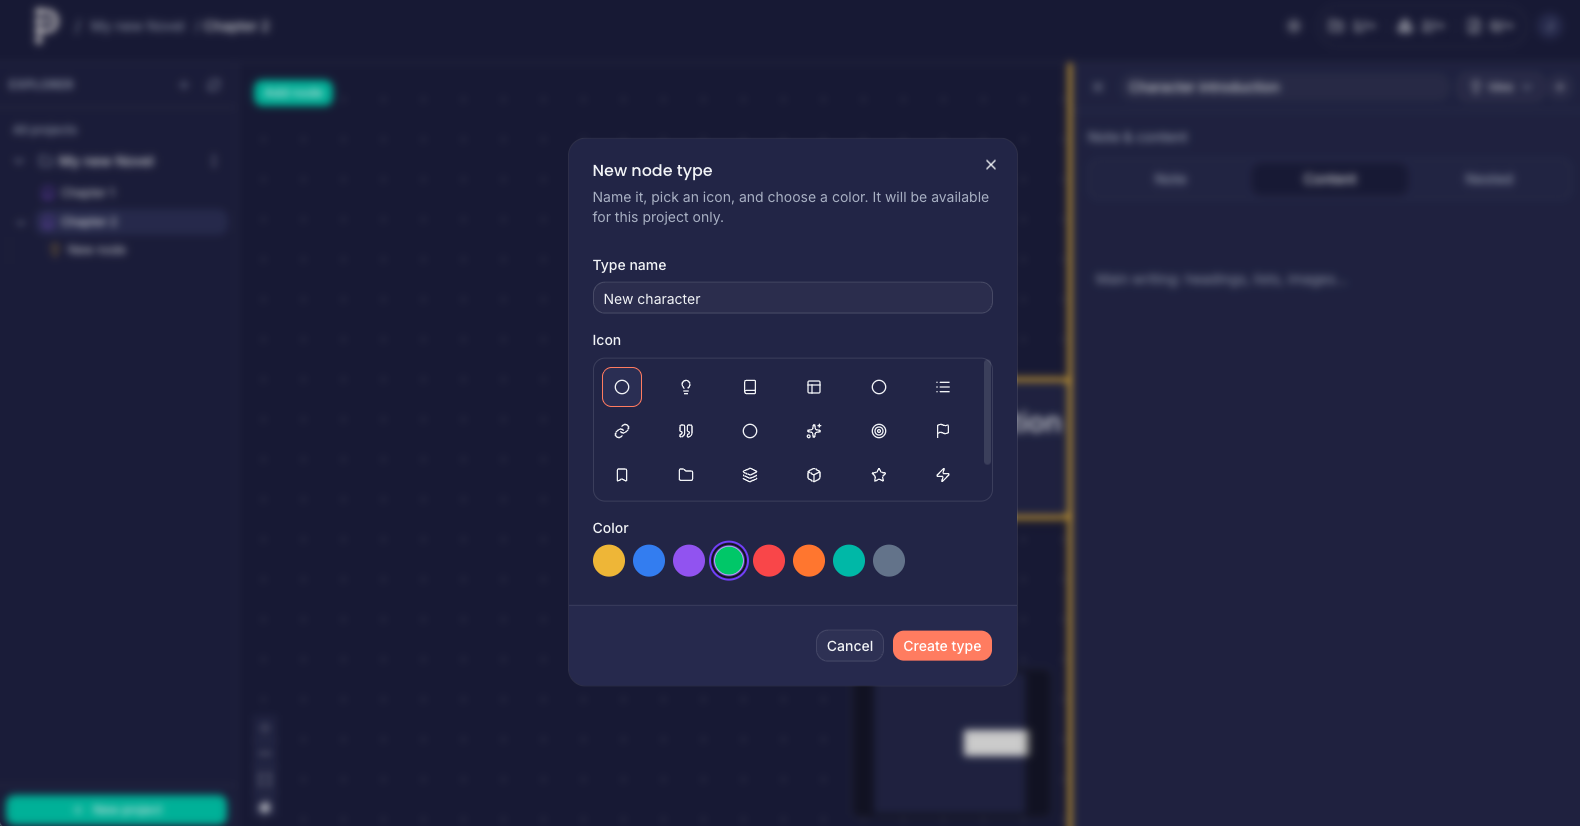
Title and node type
At the top of the drawer, edit the title inline. Use the type control to assign a node type (or create types in the picker). Types control border color and the badge on the canvas card so you can scan structure at a glance.
Pick an existing type or follow prompts to define a new label, icon, and color.
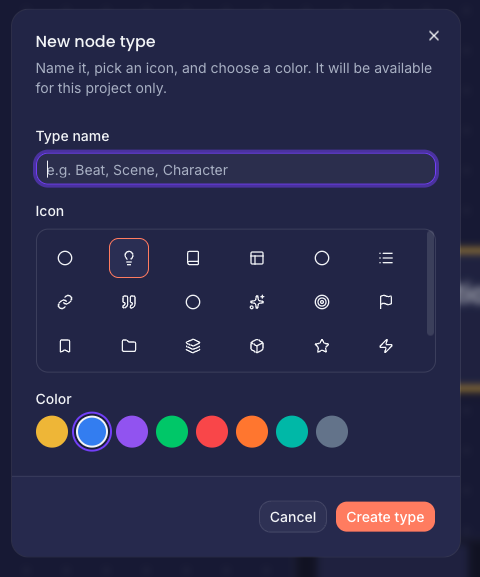
Creating a type updates the catalog for this project only.
Some deployments use a fullscreen stepper for richer type setup.
Note tab
Note is for private planning: research snippets, reminders, alternate titles, or questions. Notes are not included in book export—only Content is (see export rules below).
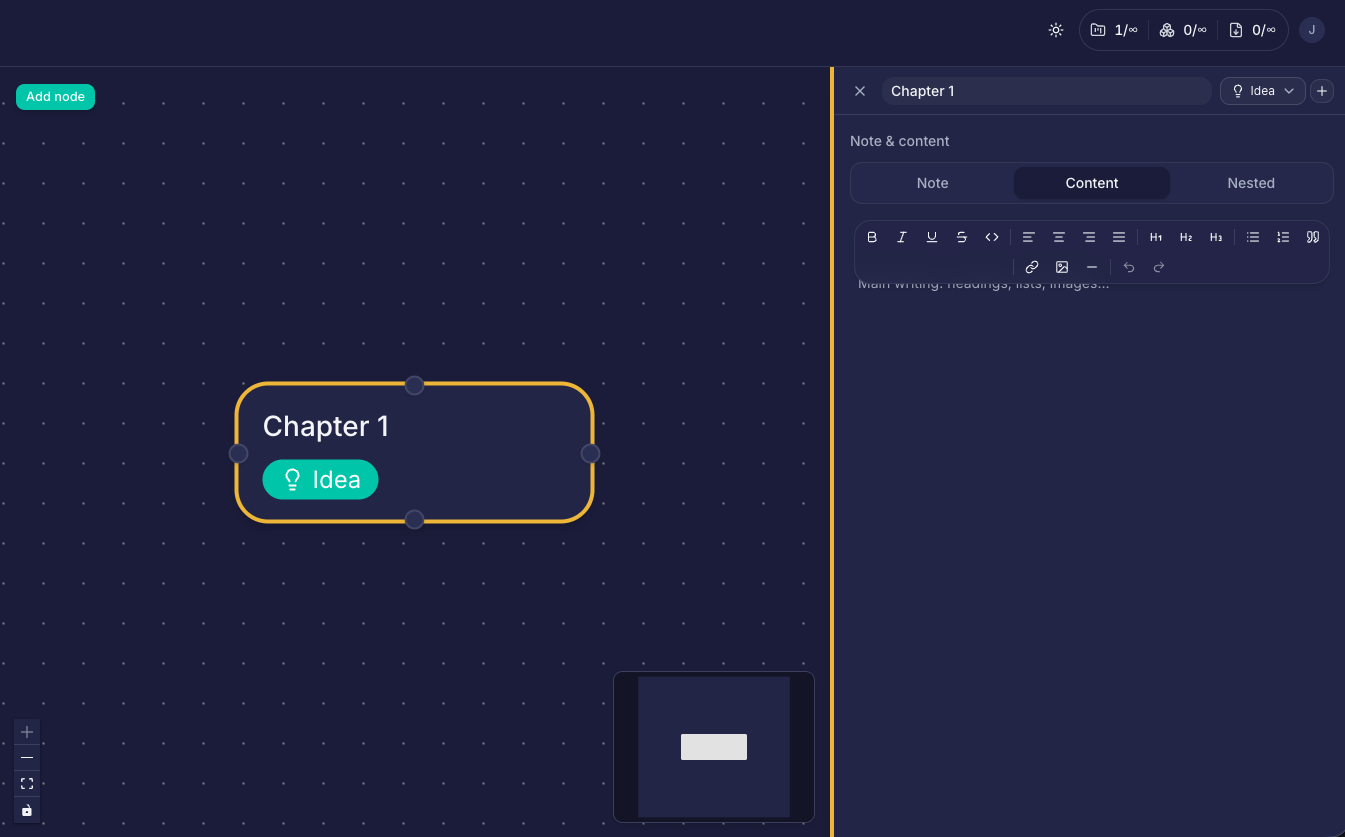
Content tab
Content is the rich-text body used when you export the book: headings, paragraphs, lists, images, and alignment supported by the editor. Changes autosave after a short pause; watch the saving indicator in the drawer header.
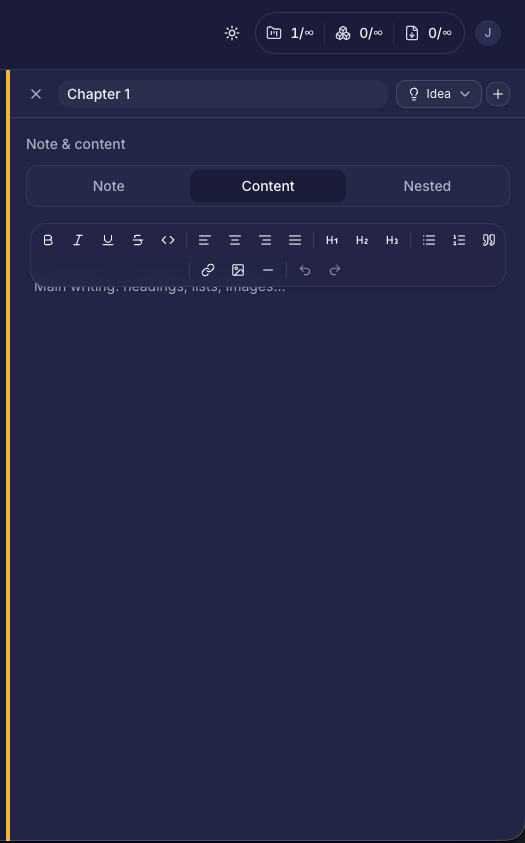
The Content tab is where export-ready prose lives; formatting mirrors what survives into
.docx/ print.
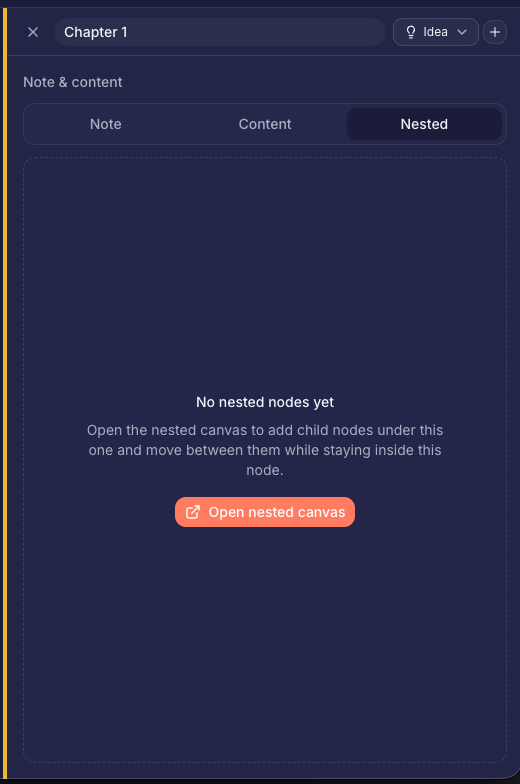
Nested tab and child canvases
The Nested tab shows either:
- A prompt to Open nested canvas when there are no children yet, or
- A live preview of child nodes plus a button to Open full nested canvas.
The full nested canvas is the same editor as the root canvas but scoped to children of this node (/node/[parentId]). There you add nodes and edges inside that chapter (or folder) only.
Right-click a node → Open child canvas jumps straight to its nested route.
When children exist, Nested summarizes them and links to the child canvas route.
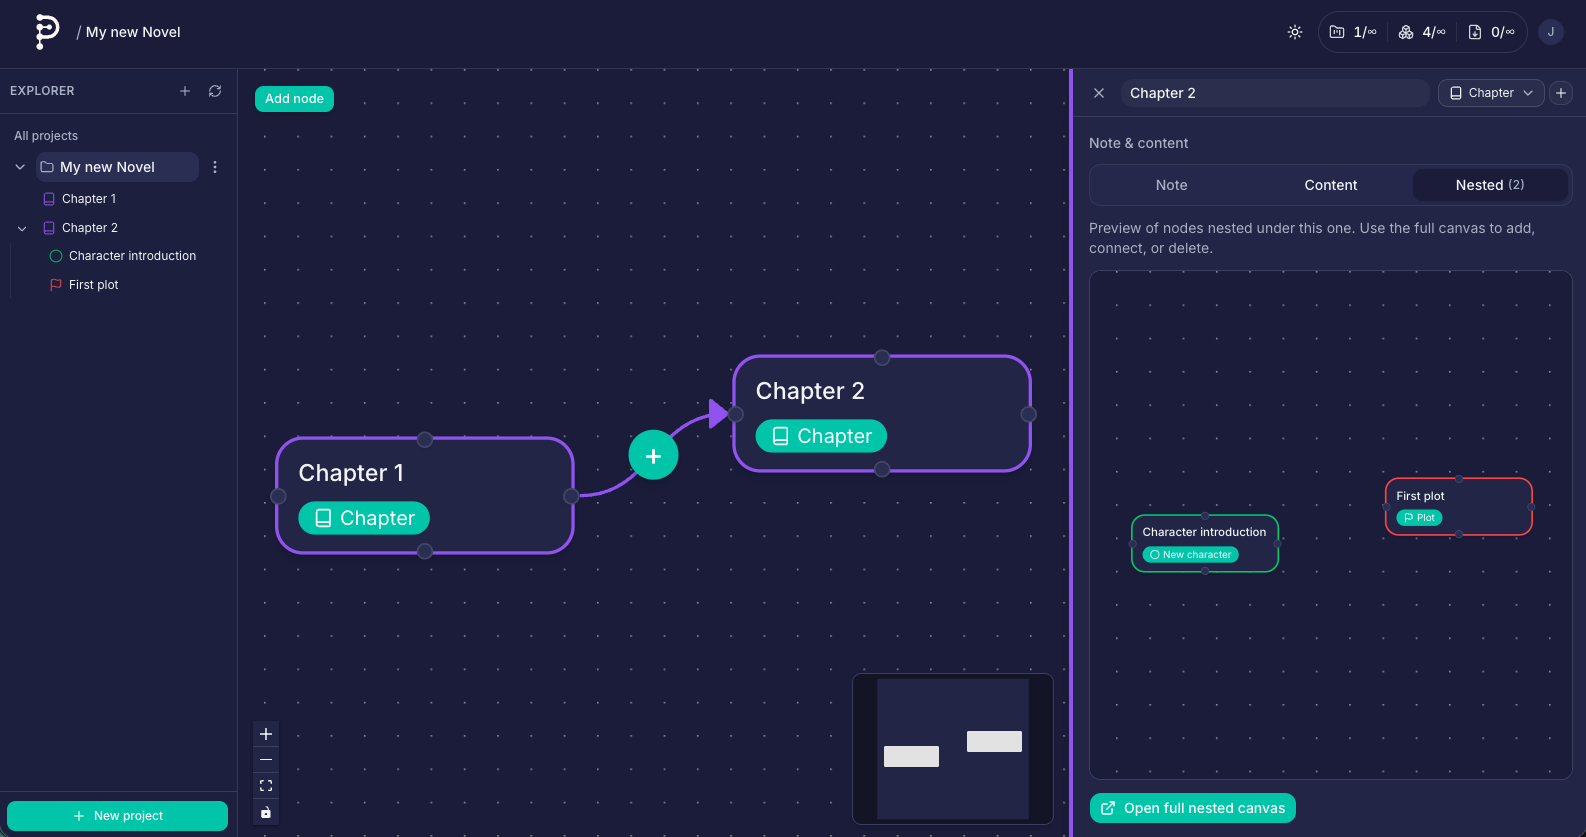
Connected nodes plus Nested make it obvious which branch you are extending.
Important export rule for parents with children
If a node has one or more nested child nodes, its own Content tab is not included in the exported manuscript. Export walks the tree and uses leaf (non-container) bodies, or parents without children, so you do not duplicate a chapter heading in prose and again as the aggregate of its scenes. Plan accordingly: put draft prose in child nodes, or keep prose in the parent only when it has no children yet.
Node context menu
Right-click a node for edit, open nested canvas, delete, and other canvas actions (exact list depends on context and plan).
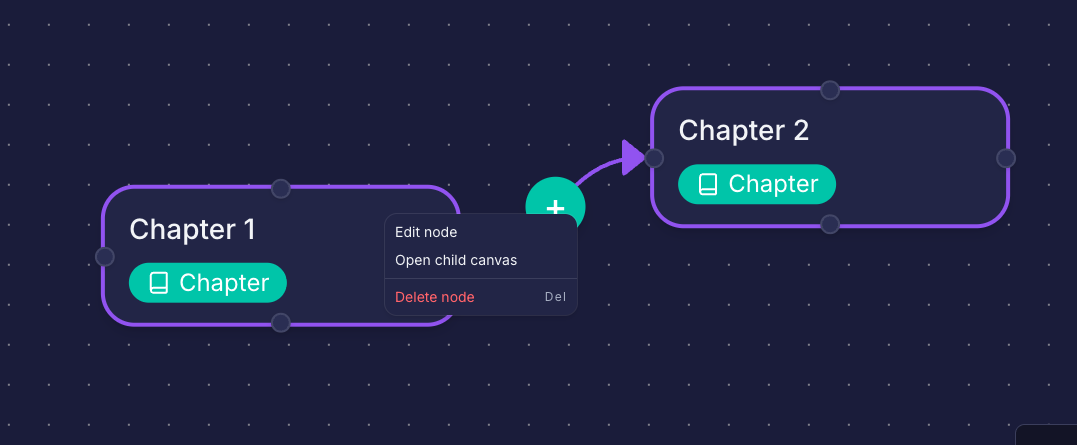
Context menu shortcuts mirror double-click and nested navigation.
Connecting nodes
- Drag from a handle (top, right, bottom, or left) on one node to a handle on another.
- The app creates a directed edge (arrow) from source to target.
Rules enforced by Plotlyn:
- Each node may have at most one outgoing and at most one incoming connection—think “next step” in a chain or DAG, not a busy hub.
- Cycles are rejected so reading order never loops in an impossible way.
Shape the path by selecting an edge and dragging the curve handles; double-click a handle to reset both sides. Right-click the + on an edge for insert/delete along the chain where supported (Insertable edge type).
Handles show valid drag targets; the arrow shows export reading direction.
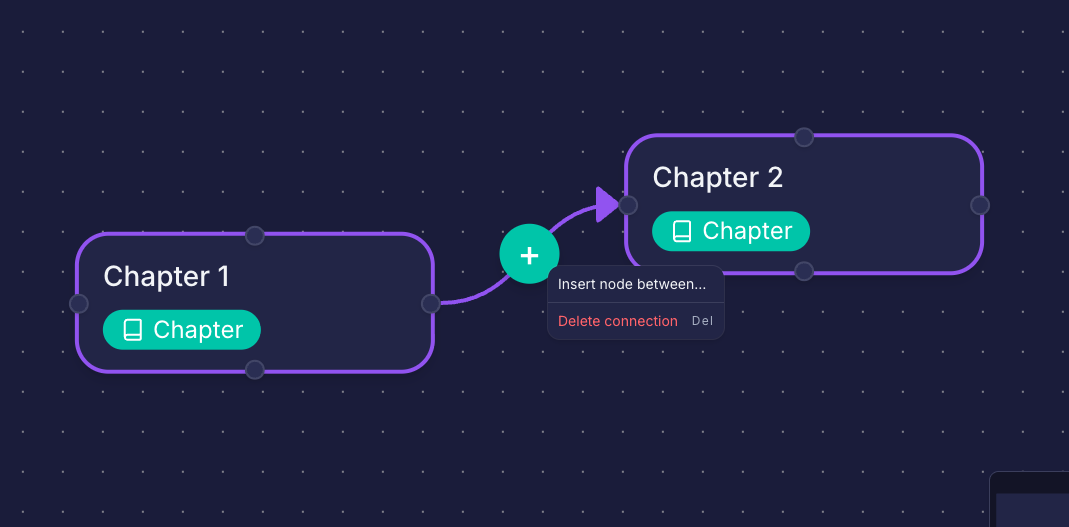
Edge context menus cover insert-along-chain and related edge tools when enabled.
Example: planning and writing a first structured book
Below is one way to use Plotlyn for a debut novel; adapt labels to your genre.
1. Shape the book on the root canvas
Create nodes such as Act I, Act II, Act III, or Part 1 / Part 2. Connect them in reading order so export follows your macro structure.
2. Open each act as a nested canvas
Right-click an act node → Open child canvas. Inside, add Chapter nodes (use types so they color-code). Connect chapters in story order.
3. Drill into a chapter
Open a chapter’s nested canvas and add Scene nodes (or Beats if you outline finer). Connect scenes in the order readers experience them.
4. Use notes vs content
- Note tab: goals for the scene, sensory checklist, continuity reminders—anything you do not want in the
.docx. - Content tab: the actual scene draft. When a chapter has child scenes, move long prose into the scenes; the chapter node can stay a short overview or leave content empty until you flatten structure.
5. Export when ready
Use Export (see below) to produce a single flowing document. Tune page breaks and typography in the export workbench so parts and chapters land on the right pages.
Export
Open Export from the account menu (/export) or the header when available.
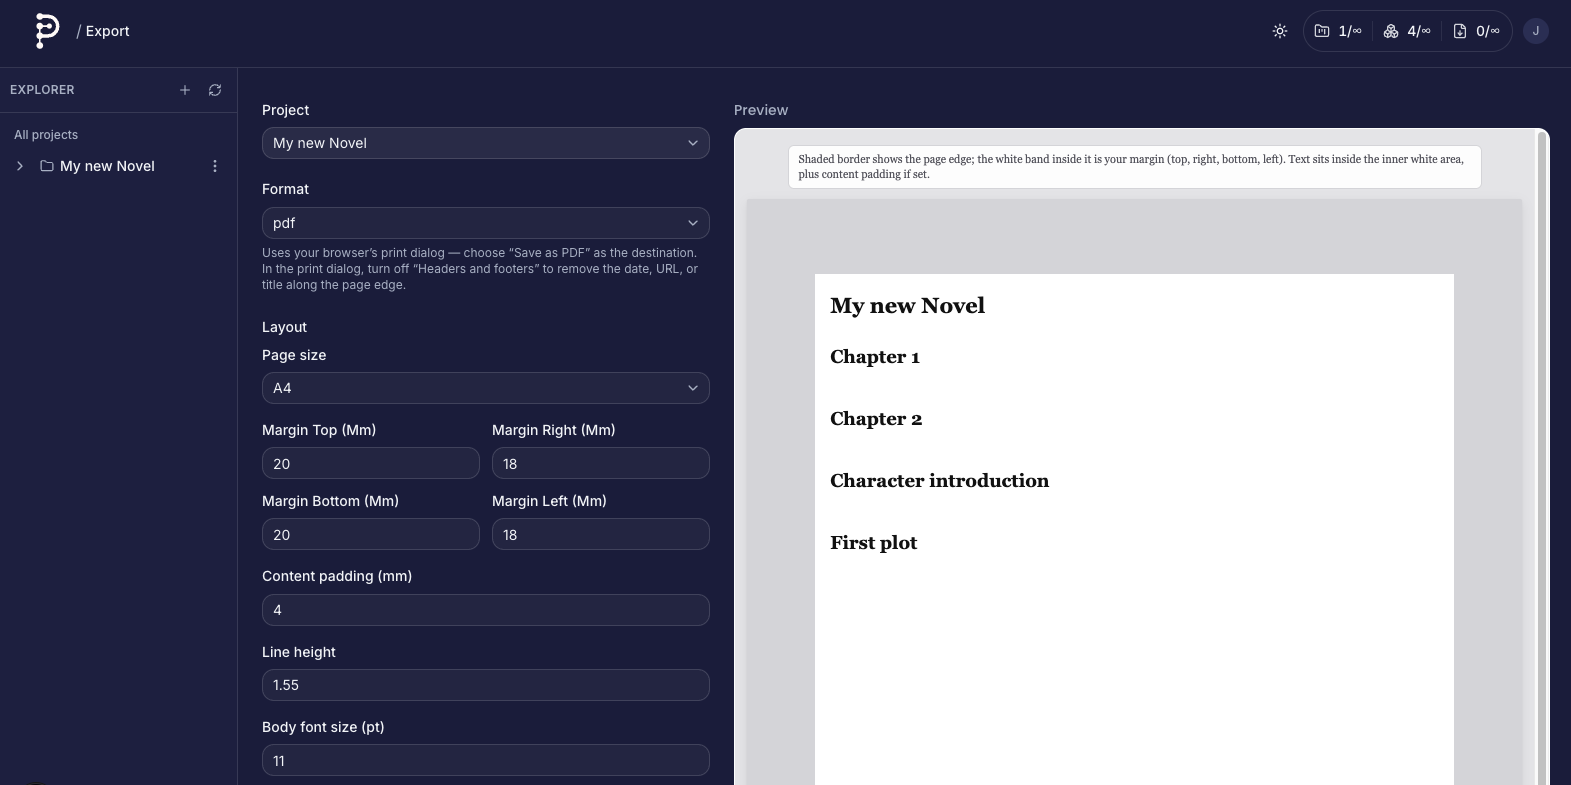
- Choose a project.
- Review the ordered list of nodes derived from your graph (respecting structure and the parent/child rule above).
- Adjust layout options (page size, fonts, optional page breaks after specific nodes, etc.).
- Export as:
- DOCX — Downloads a Word file.
- PDF — Opens print from a generated preview (use your browser’s “Save as PDF” if you need a file).
Exports count against your plan’s monthly export limit (reset at 00:00 UTC on the 1st of each month). If you hit the cap, the app shows an error until the next period or you upgrade.
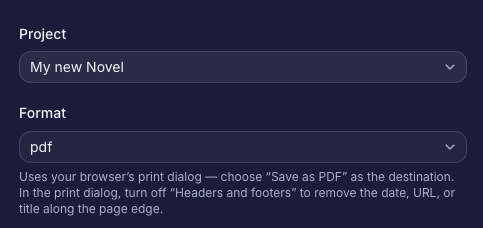
Pick the project and core format options before generating output.
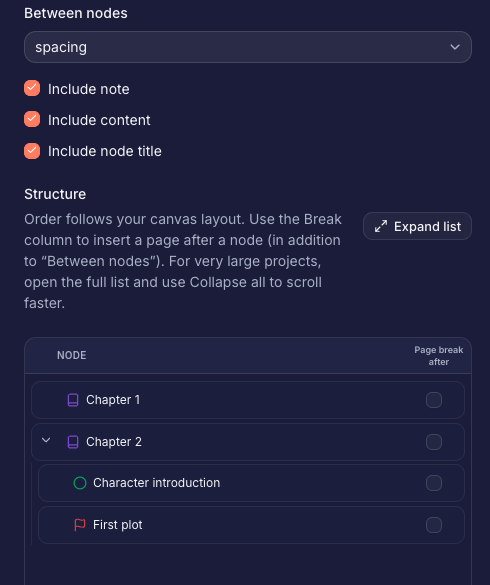
Ordering respects your graph and nested tree; adjust when you need a different linearization.
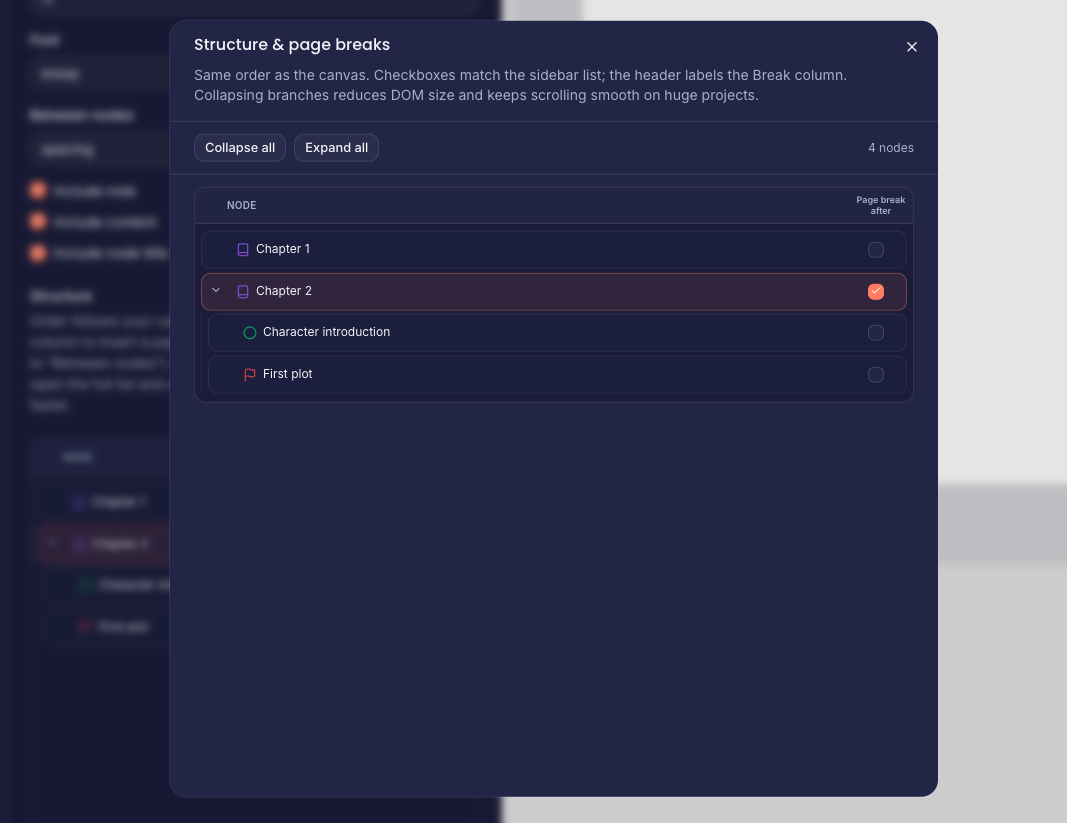
Page breaks after major nodes keep parts and chapters on clean boundaries.
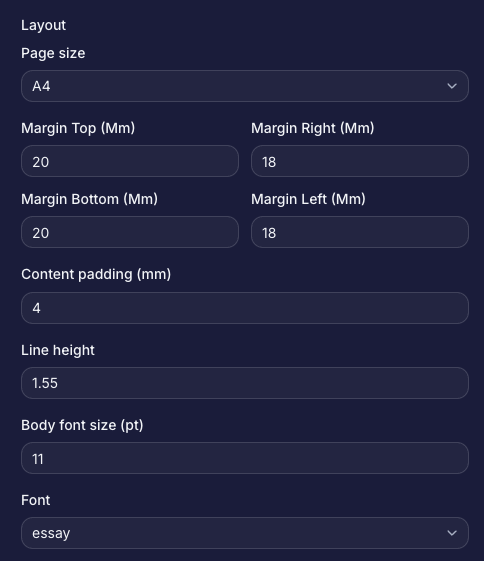
Typography and paper size feed both DOCX and the print preview path used for PDF.
Fullscreen export gives maximum room for previews and long node lists.
Billing and plans
Go to Plan (/plan) from the account menu (labeled Plan & billing on the page).
- Compare max projects, max nodes, and exports per month for each offering.
- Paid plans typically checkout through Stripe; after payment, your subscription may take a moment to sync—refresh if prompted.
- Free plans can be chosen in-app when your product configuration exposes them.
- With an active Stripe subscription, use Manage billing to open the Stripe customer portal for payment methods, invoices, and cancellation behavior (exact options depend on your Stripe configuration).
Usage summaries on the plan page help you see how close you are to caps. If your subscription was assigned by an admin, self-serve portal actions may be disabled; use Contact in that case.
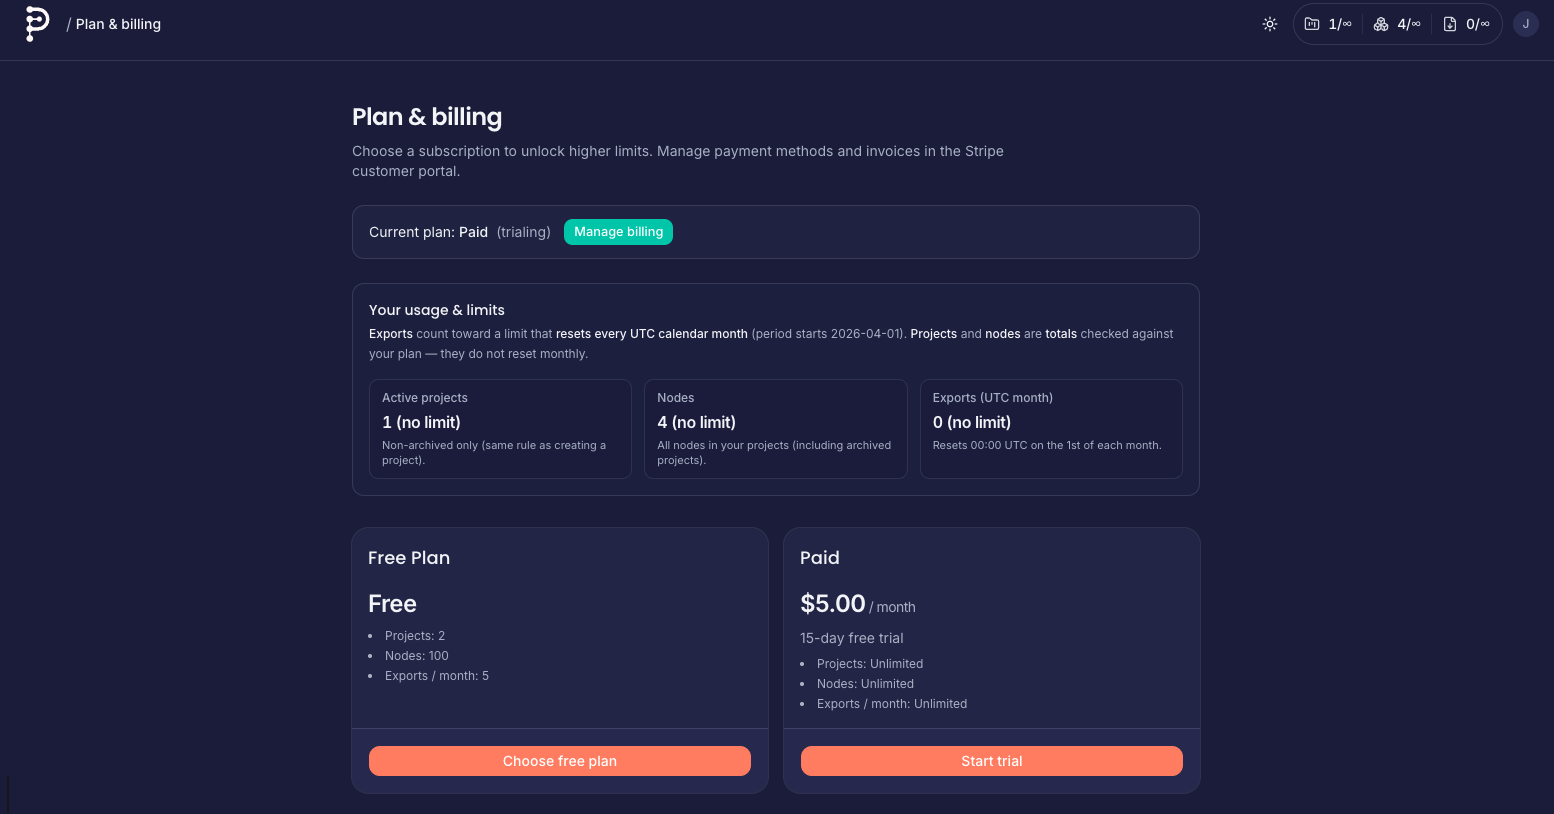
Caps, current usage, and upgrade paths appear on Plan & billing.
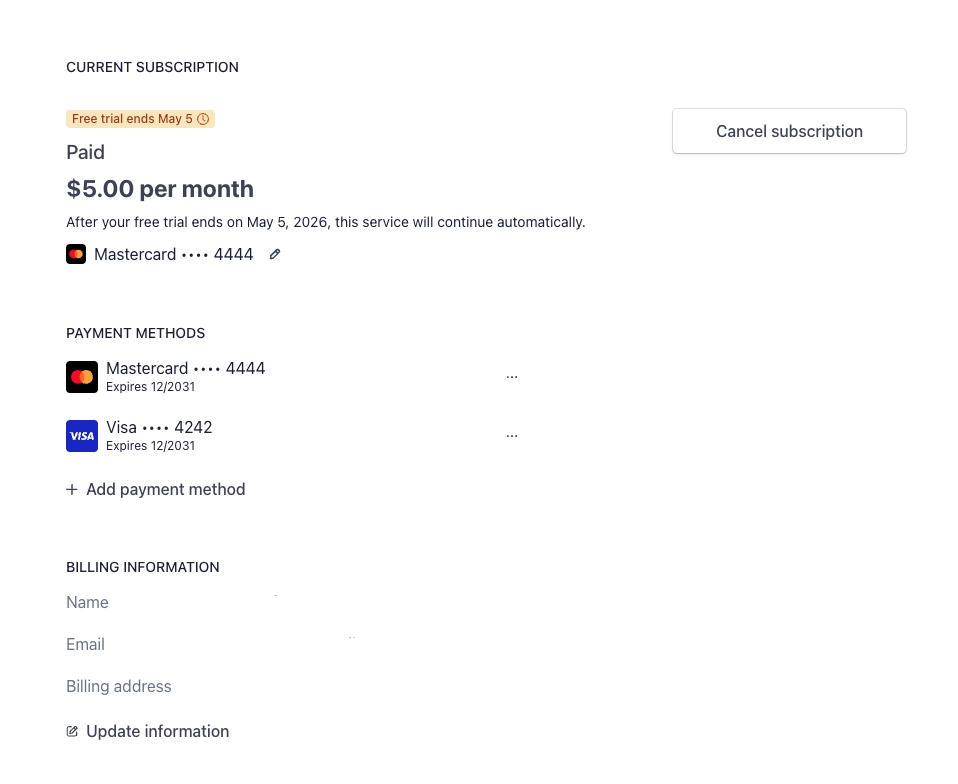
Cancellation and renewal behavior follow your Stripe product configuration.
Account settings
Settings (/settings) covers identity and sign-in:
- Display name — Stored on your user profile and shown in the app menu.
- Email — Request an email change through the form (follow any confirmation steps from Supabase/auth).
- Password — Update password when signed in with email/password, or use Send reset email if you are locked out.
Use Back to projects when you are done.
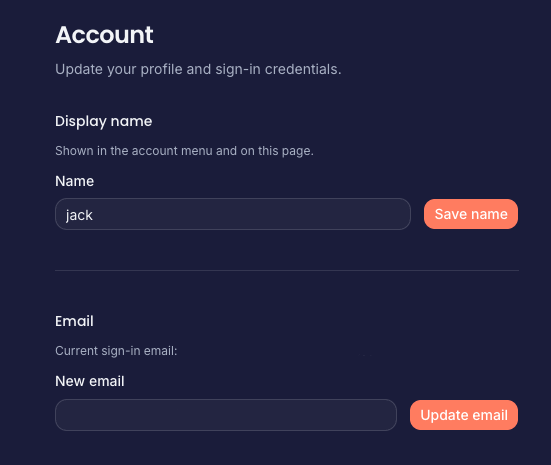
Profile fields and email change requests live under Settings.
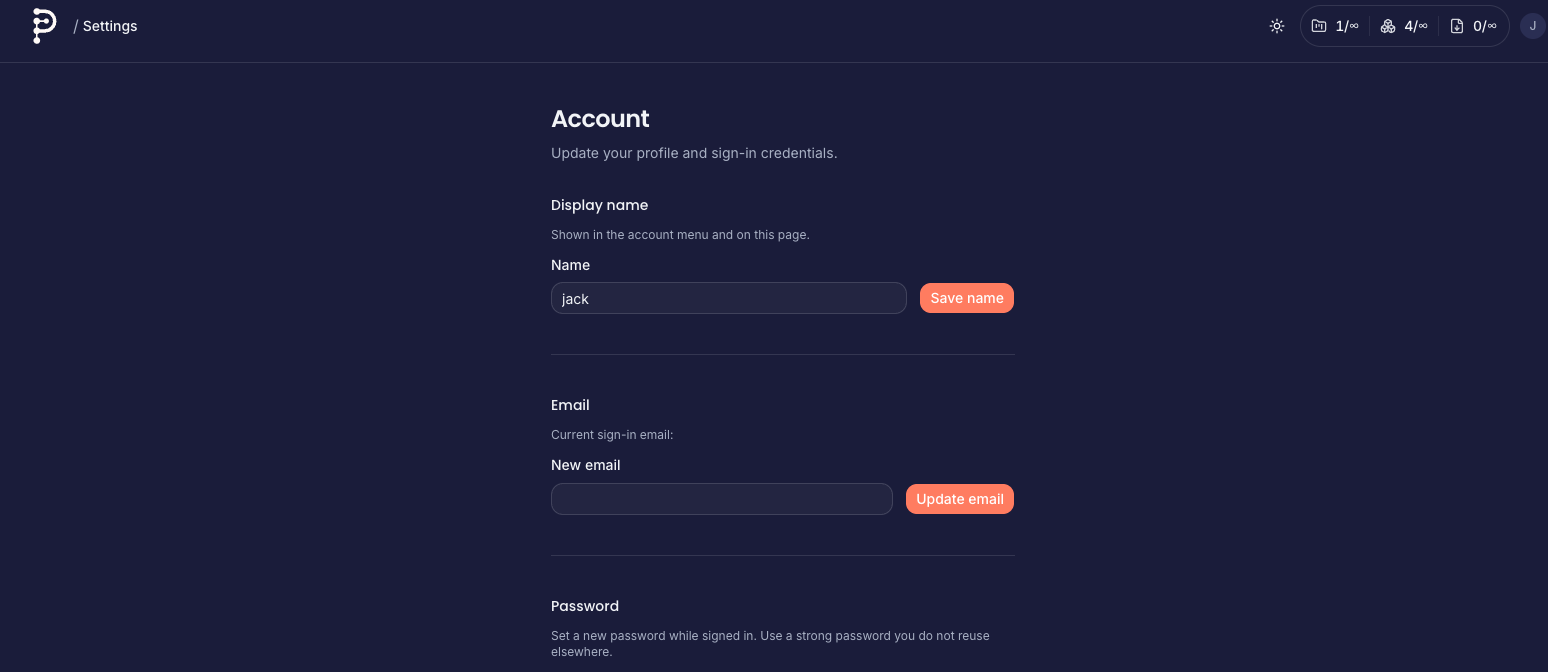
Some viewports use a dedicated fullscreen settings shell for focus.
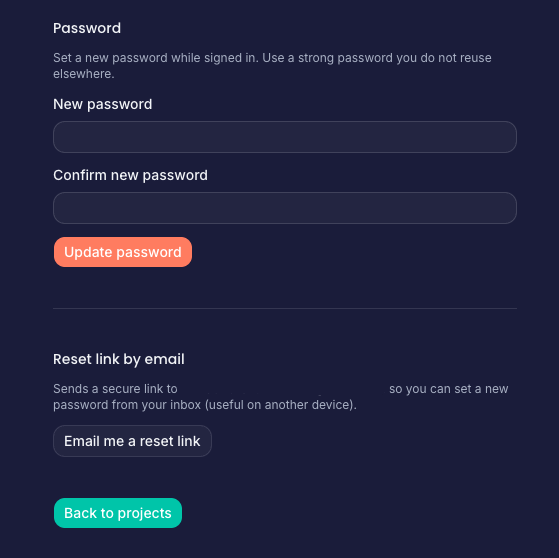
Change password while signed in, or trigger a reset email if you cannot sign in.
Help, contact, tour, and guides
Documentation (/docs) and Contact (/contact) are available without signing in.
Open your profile button (top-right) when signed in. Besides Export, Settings, and Plan, you will find a Help group:
| Item | What it does |
|---|---|
| Documentation | Opens this guide (/docs). |
| Contact | Opens /contact with the public email link (set NEXT_PUBLIC_CONTACT_EMAIL in the deployment so the address appears). |
| Launch tour | Starts a NextStep tour matched to the current page (e.g. projects, canvas, writing studio, export, contact). The menu shows which tour will run. The first-time welcome on Projects still introduces the project list; finish or skip that once, then use Launch tour anytime for a refresher on the screen you are on. |
For billing or account issues, use Contact; include steps to reproduce and, if relevant, your browser and approximate time.
Some deployments may still offer signed-in ticket submission at /support (requires an account and plan where applicable). Prefer Contact for a path that works for everyone.
Profile menu and global navigation
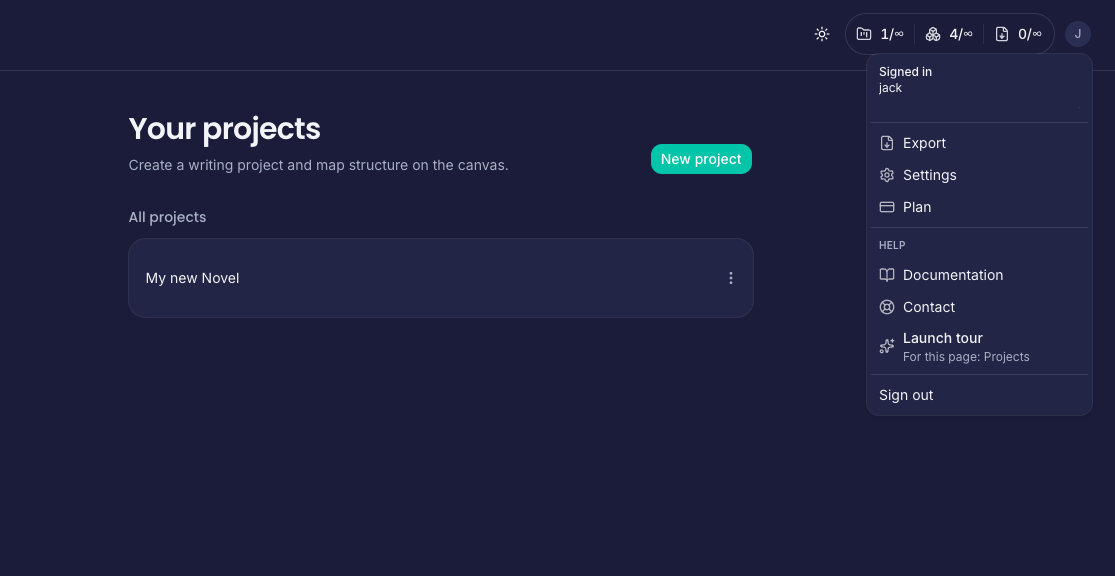
Signed-in profile menu surfaces export, settings, billing, and Help (including Launch tour).
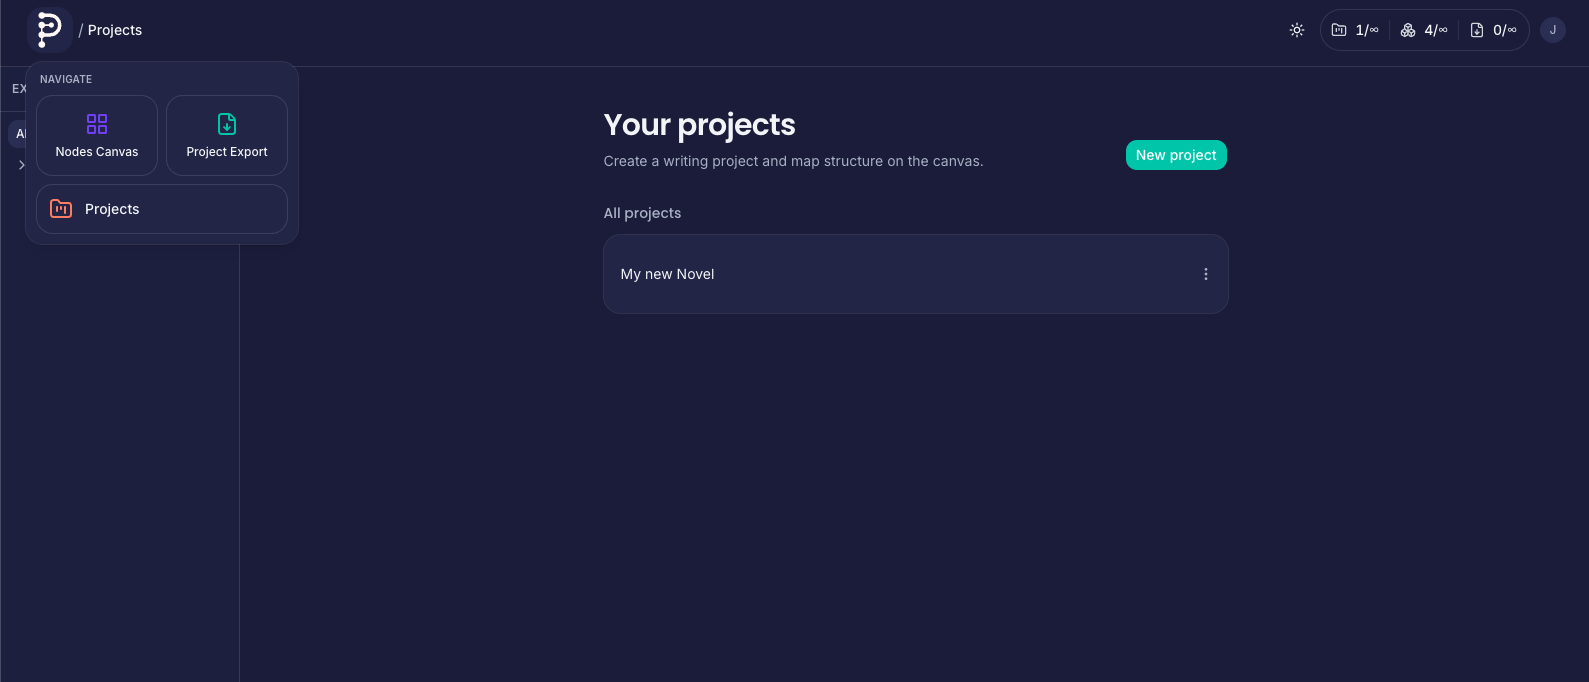
The logo dropdown jumps between high-level areas (projects, docs, contact, etc.) depending on deployment.
Product tours
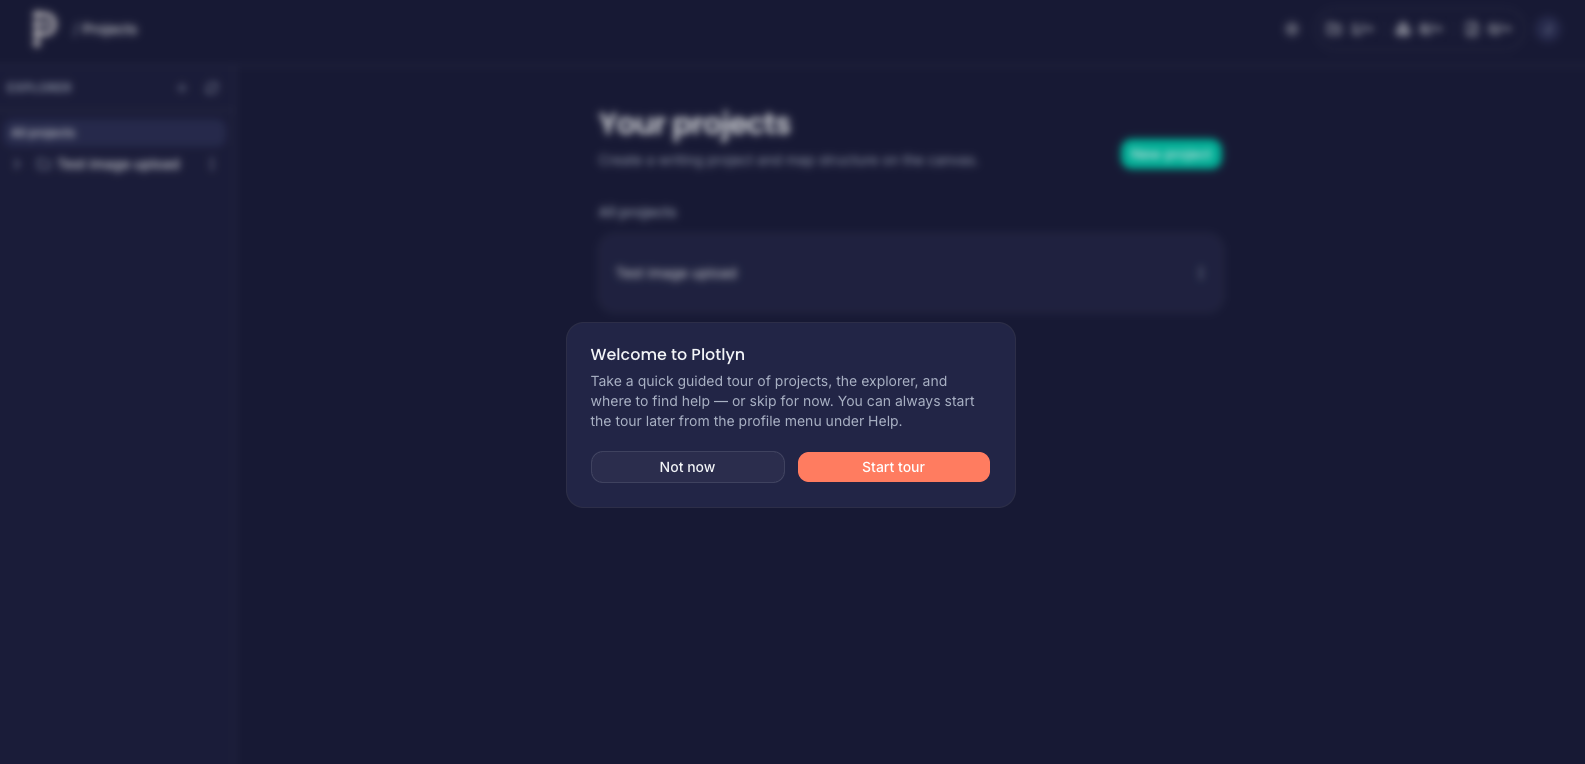
First visits may show a welcome prompt; Launch tour from Help replays contextual steps for the page you are on.
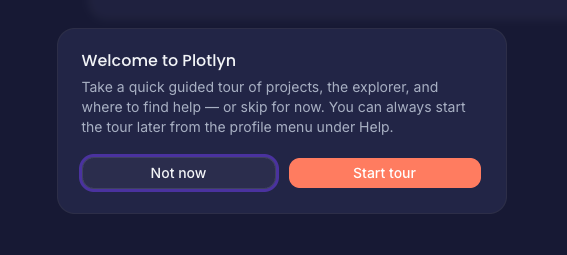
Optional welcome surfaces Start tour without hunting through menus.
Some tours use a fullscreen overlay for the first beat.
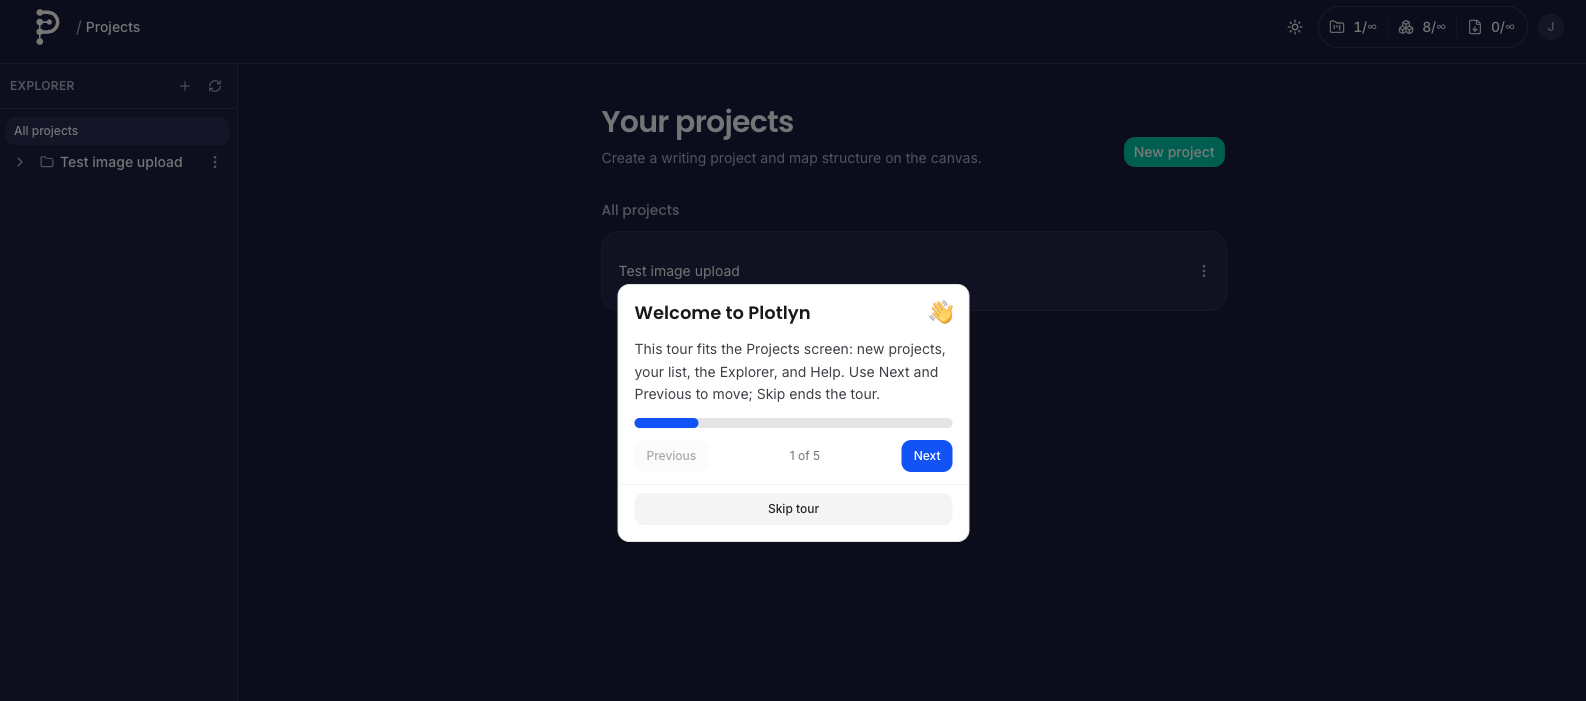
Early steps orient you to the Projects list and primary actions.
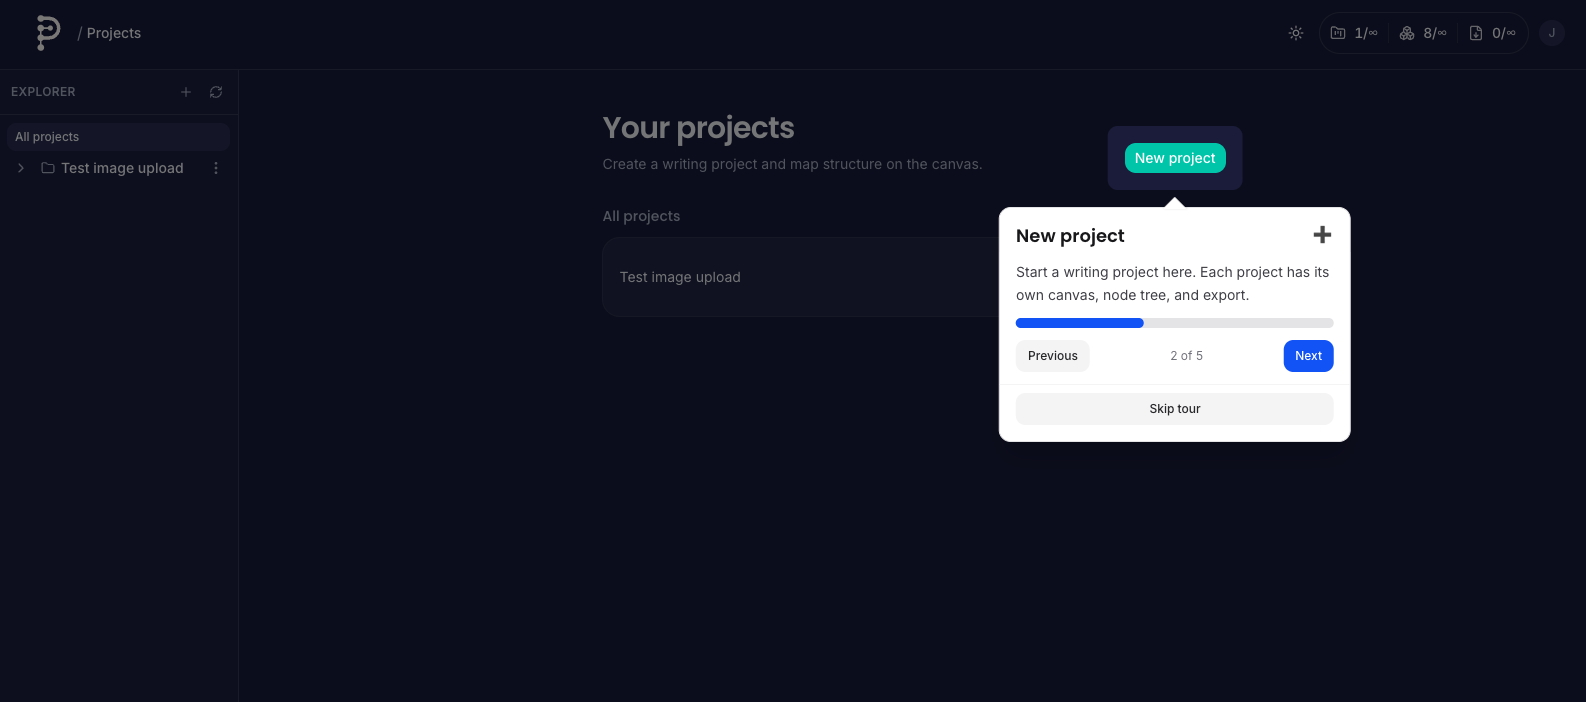
Follow highlights to create your first workspace and reach the canvas.
Keyboard and interaction summary
- Del / Backspace — Remove selected nodes or edges (when the selection HUD is active).
- Double-click node — Open editor (Content or Nested tab depending on children).
- Right-click node — Edit, open nested canvas, or delete.
- Drag from handles — Create connections; invalid targets or rules show no link.
Questions that are not covered here are welcome via Contact so we can improve this guide over time.